





I had my first session tonight! Thanks for all your help! Much appreciated!
In the kit
What’s in the kit, and what you’ll need
In the kit
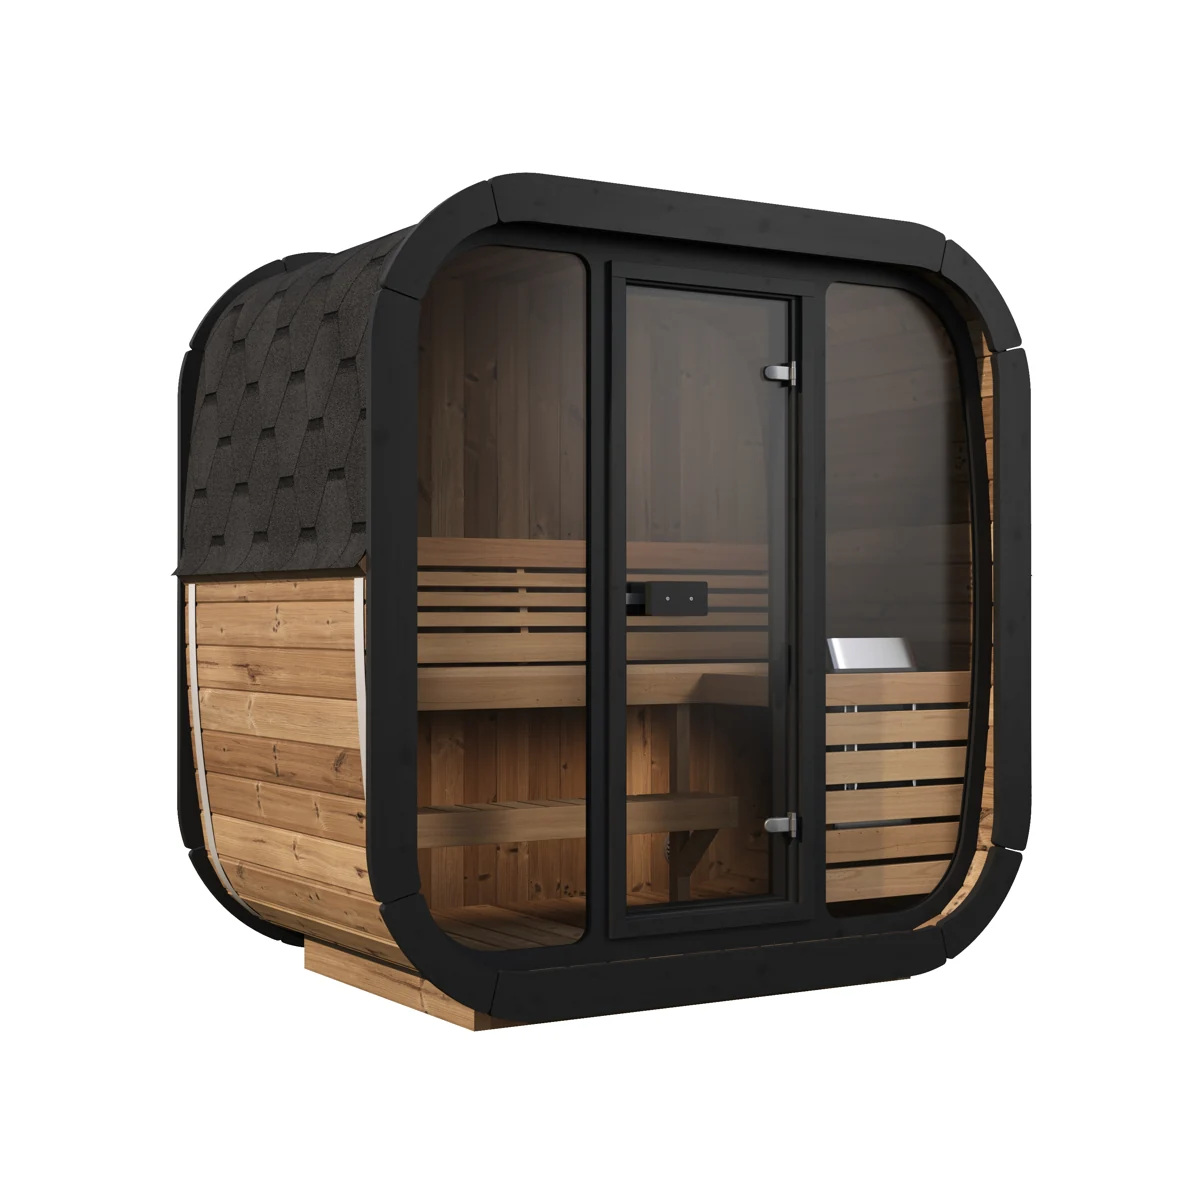
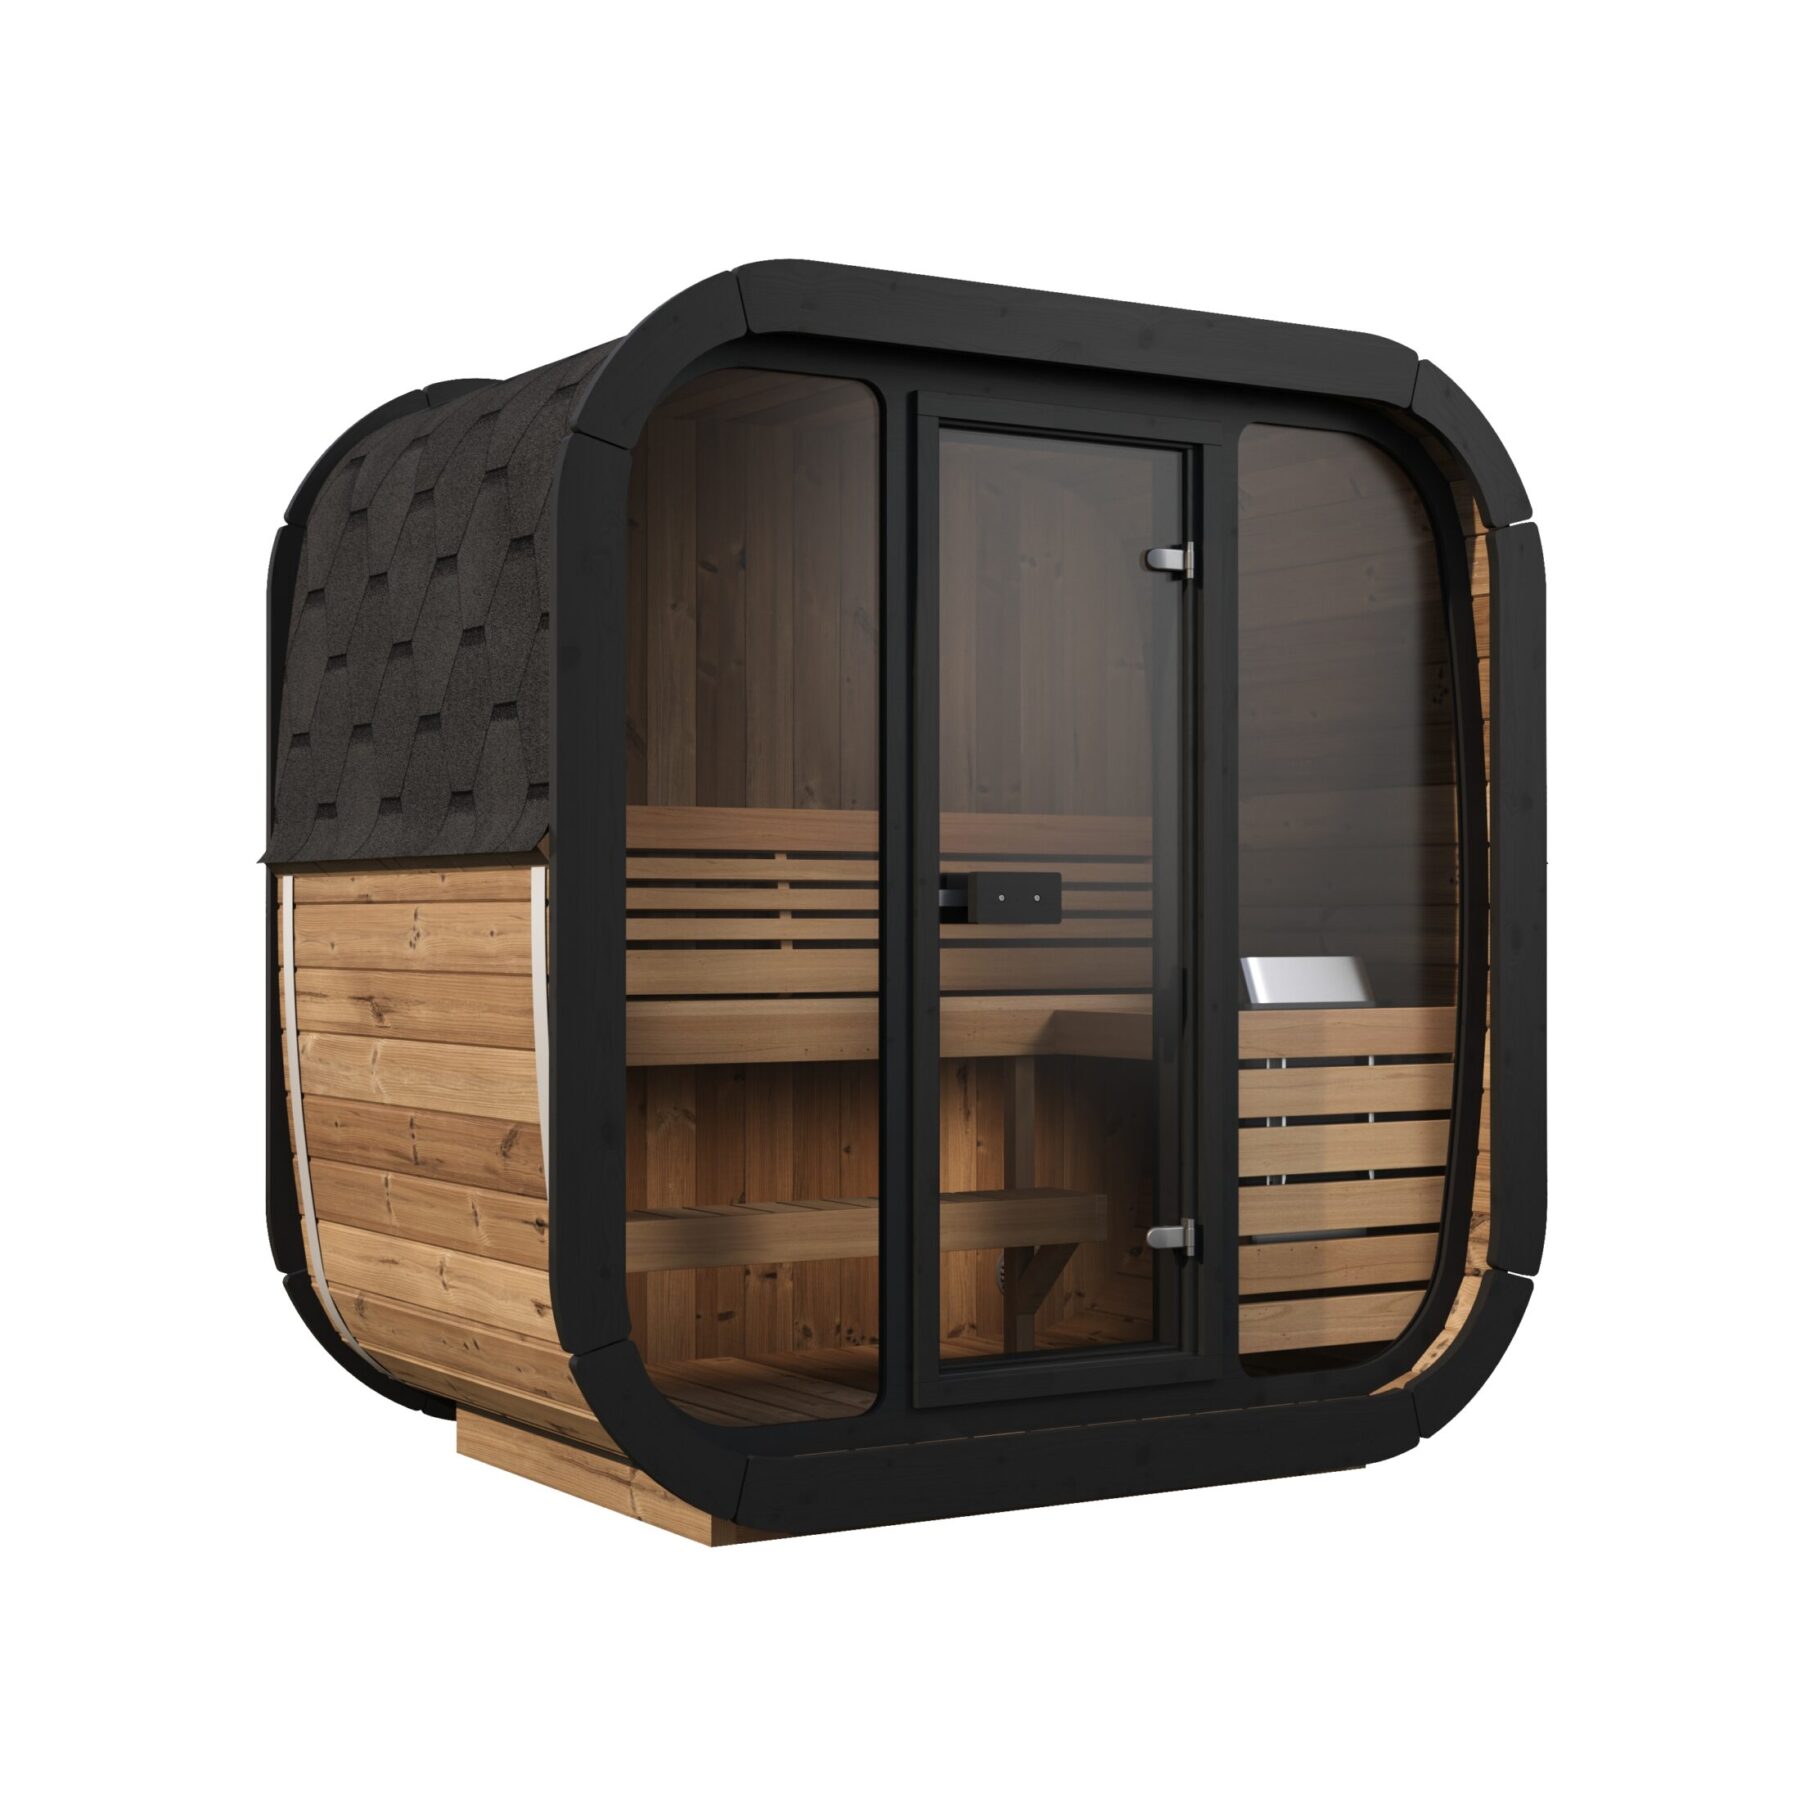
- Thermally modified spruce shell and end walls
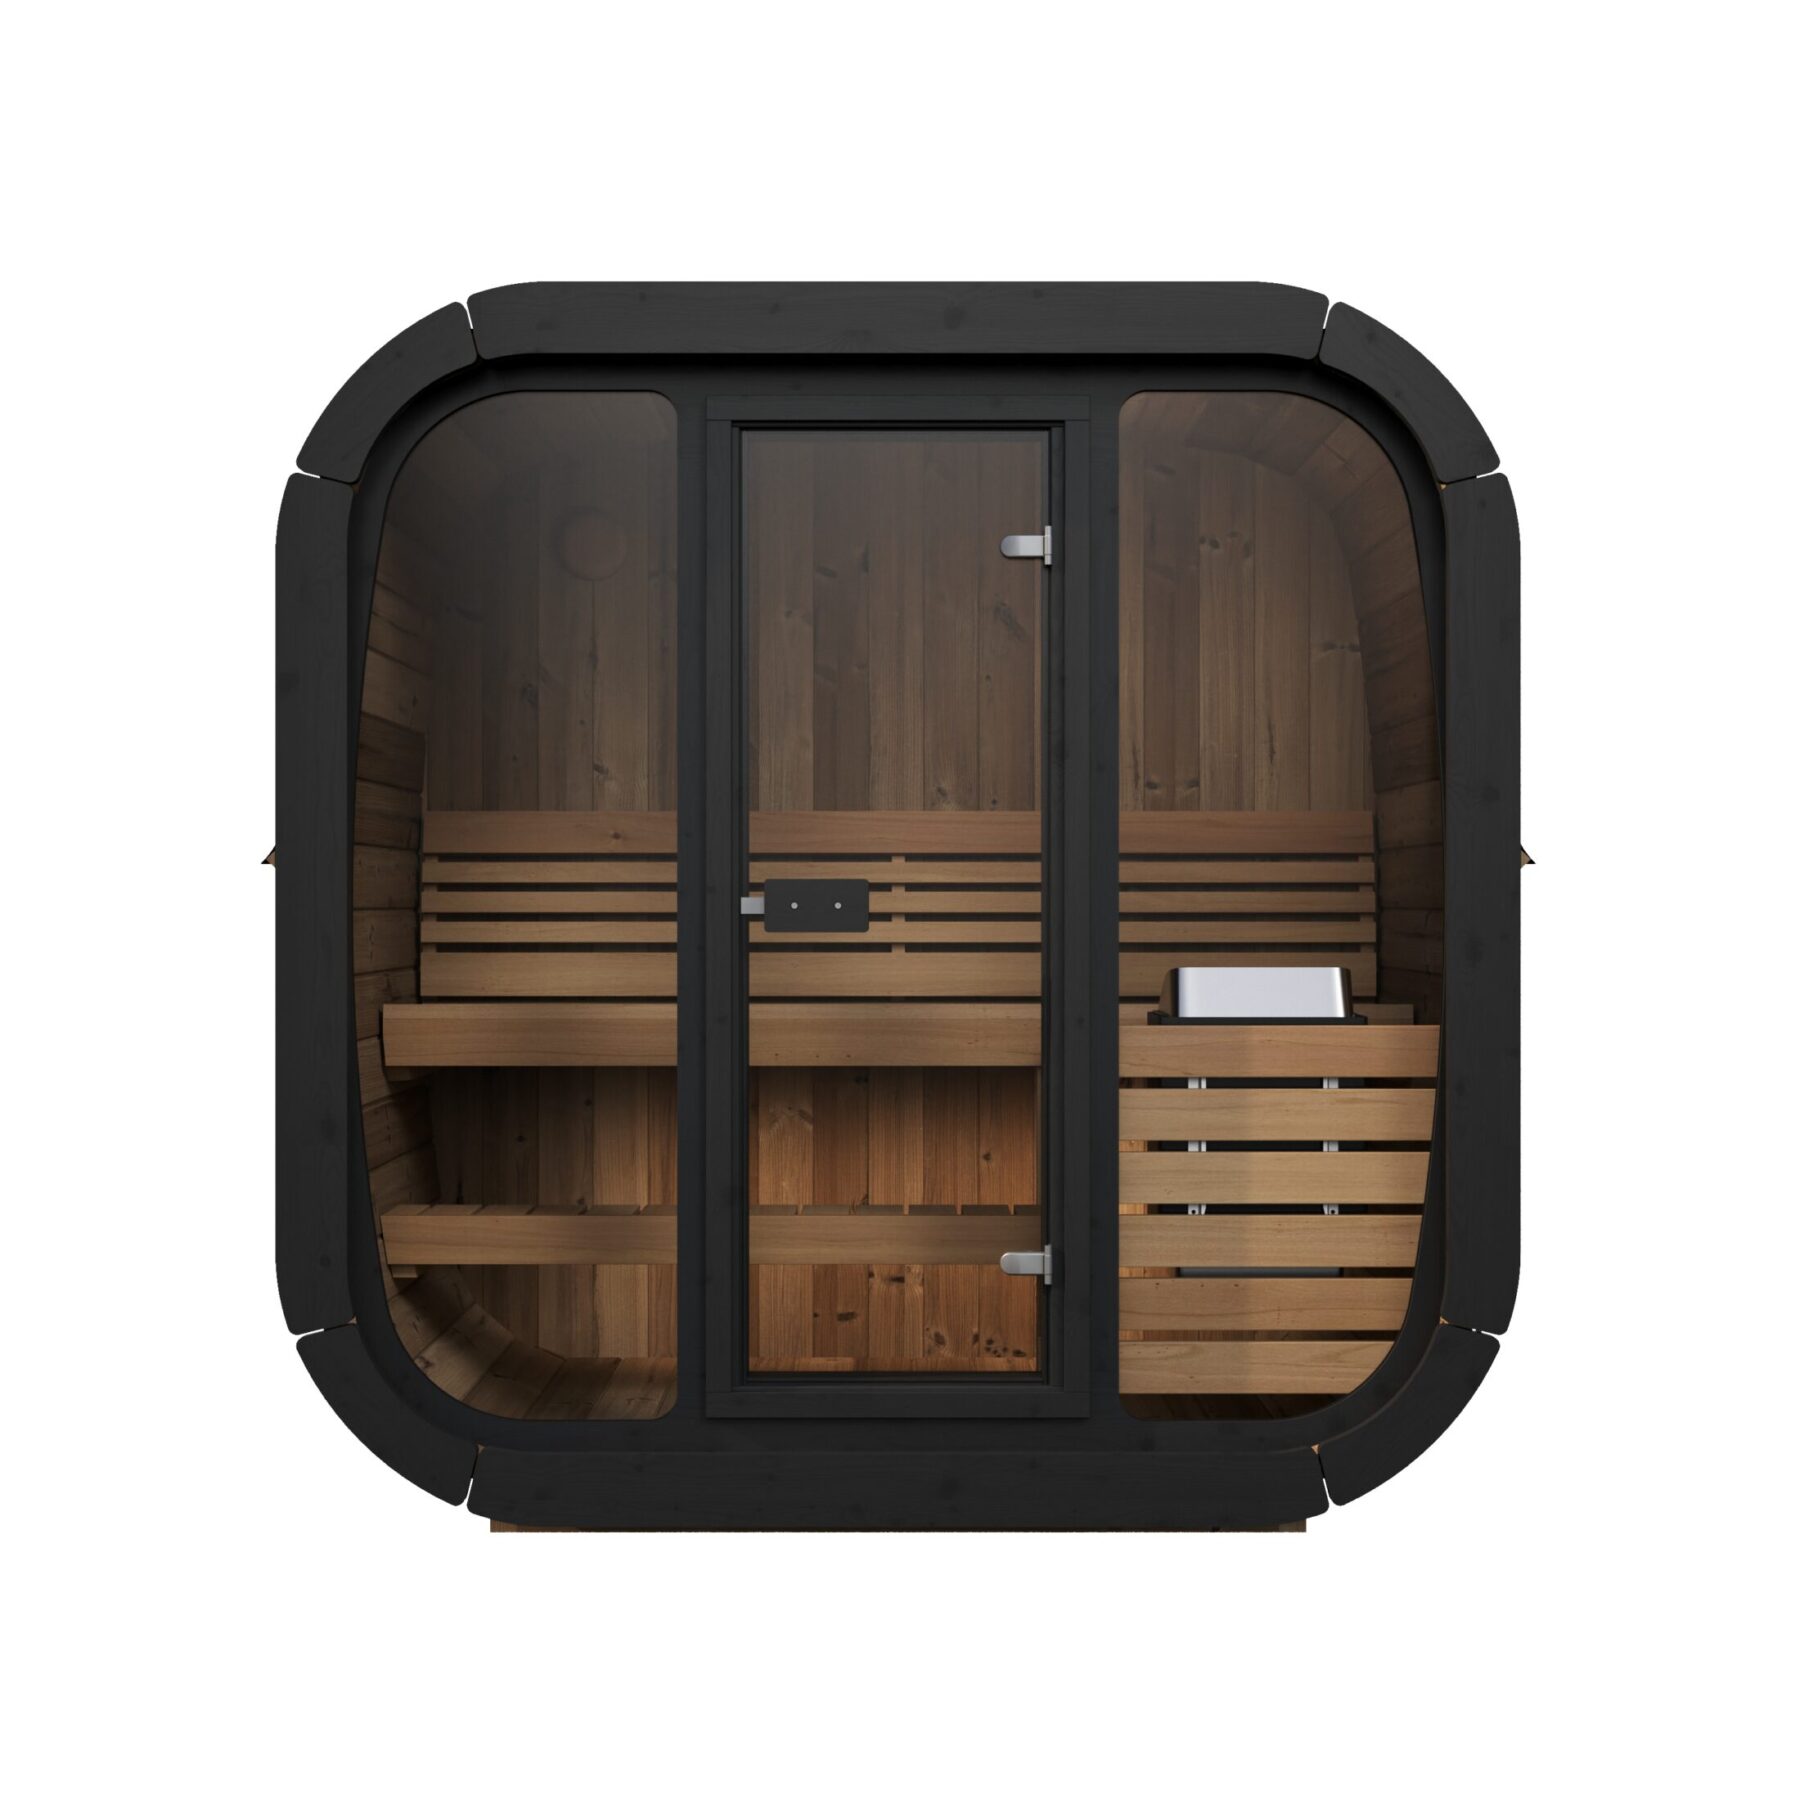
- Bronze glass front and outward-opening door
- Thermo-aspen benches, backrests and step
- Roofing, trim, vents, floor drains and assembly hardware
- White LED light kit with dimming remote
You choose
- A heater package: the heater, its controls and its stones
- Natural wood, or a paint package for the outside
You arrange
- A solid, level base where water can’t pool
- Getting the crate from the curb to the spot
- A qualified electrician for the heater and lights
No matter who builds it, we’re here for them.
Interactive Build Guide, only on Sauna Marketplace →You can build it yourself or hire a local builder. The manual calls for a drill, saw, level, rubber mallet and ratchet strap, plus a second pair of hands. We’ll talk you or your builder through the instructions, the heater choice and the delivery plan.
Why we insist on thermally modified wood
We’ve seen outdoor sauna kits develop gaps and cracks as their wood expanded and contracted. A year later, what looked like a heater struggling to keep up was heat escaping through those gaps.
That experience changed what we sell. For our solid-wood outdoor kits, we choose thermally modified European wood for its stability and durability. That means a tighter fit through the seasons and less heat escaping through gaps.
It’s pointless to buy a sauna unless it’s going to last and you’ll actually use it.
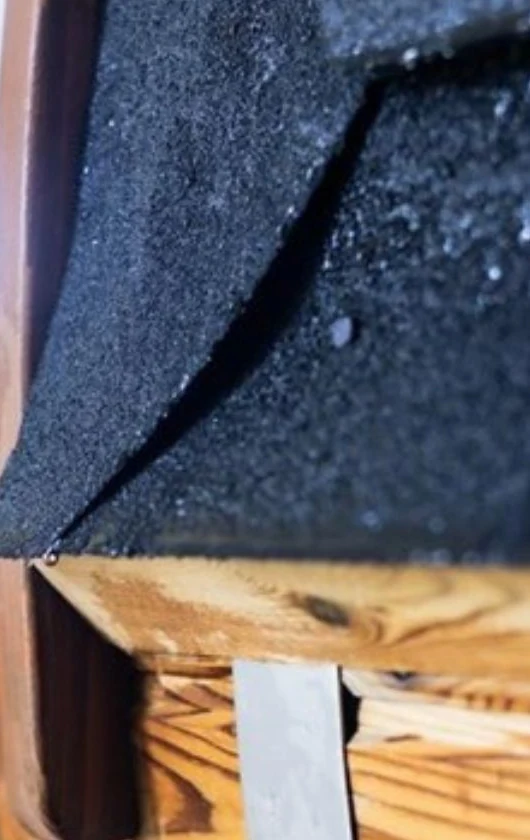
How the CL4G stays dry
- Thick Thermo Spruce
- The same 1 5/8"-thick thermally modified spruce staves form the walls, roof and floor. Thermal modification cuts how much moisture the wood takes on and how much it moves, and makes it more resistant to rot.
- Two layers on the roof
- Asphalt shingles over a separate underlay keep rain and snow off the wooden shell, and prevent the hottest air from escaping through the roof.
- Drip edges
- Rainwater drips clear of the walls instead of running down the wood.
- Stainless steel bands
- Wide bands wrap the shell and hold the staves together.
- Floor drains
- Water from cleaning and splashing runs out through the floor.
- Vents
- Fresh air comes in while you bathe, and the room dries out afterward.
- A raised floor
- Foundation beams hold the floor above its base, so the floorboards never sit on the ground.
Rugged outside. Smooth where you sit.
The CL4G pairs a thick thermally modified spruce shell for outdoor durability with smooth thermo-aspen benches and backrests inside.
Size and seating
CL4G dimensions and seating
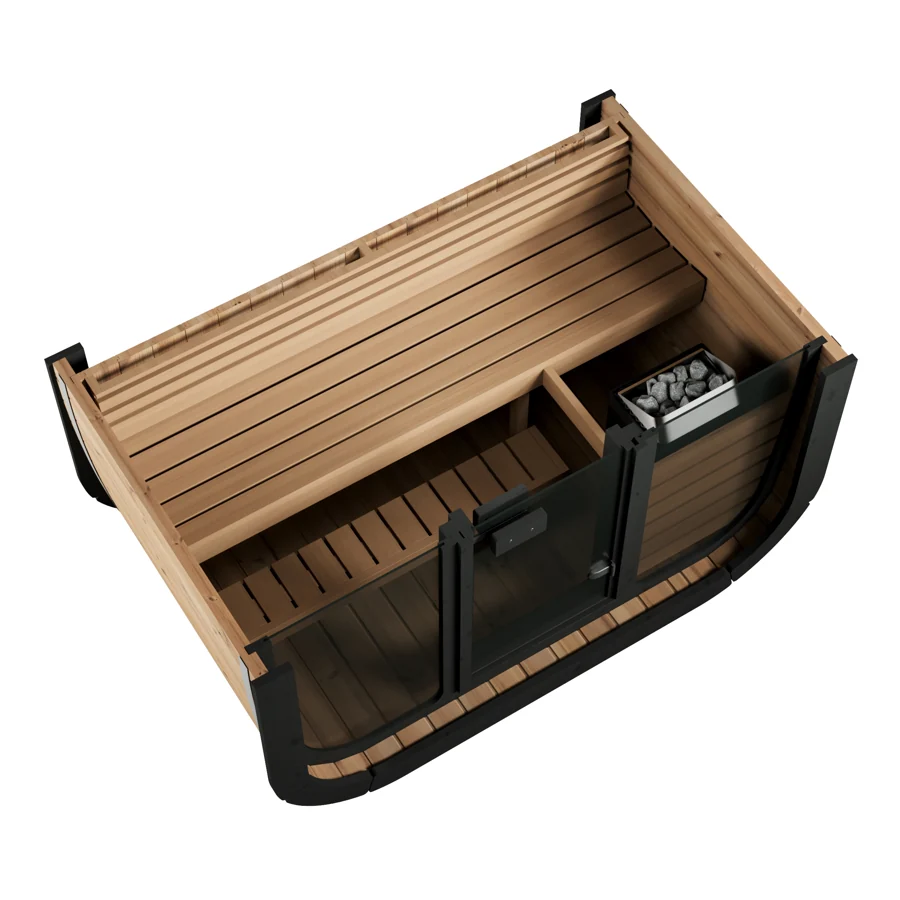
- Seats
- Up to 3
- Upper bench
- 6 ft 4 inLong enough to lie down
- Lower bench
- 4 ft 1 inStops short of the heater
- Door, W × H
- 23¼ × 66½ in
- Outside, W × D × H
- 6 ft 8¾ in × 4 ft 1¼ in × 6 ft 10¾ in
- Inside, W × D × H
- 6 ft 5 in × 3 ft 5¼ in × 6 ft 2¾ in
We know SaunaLife Cubes and how to get the most out of them
Ben Frizzell and a customer who happened to live nearby built a CL5G, the deeper sibling of the CL4G. We filmed the whole assembly, so you can watch it start to finish or jump to the step your builder is on.
Talk through your sauna plans with a Ben →Updated kits ship the door as one assembled unit; the door steps are further down this page.
Customer photos
From CL4G and CL5G owners. They’re the same Cube in two depths.
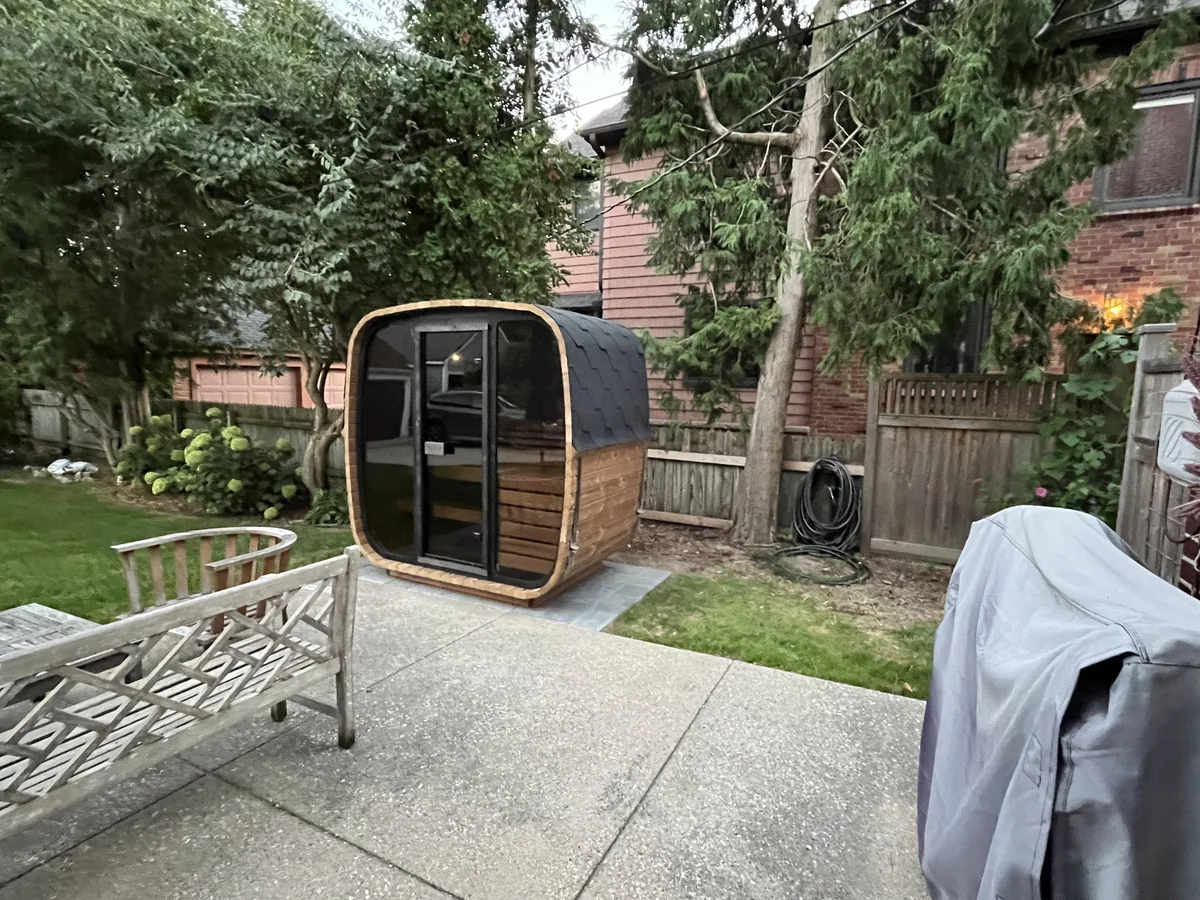
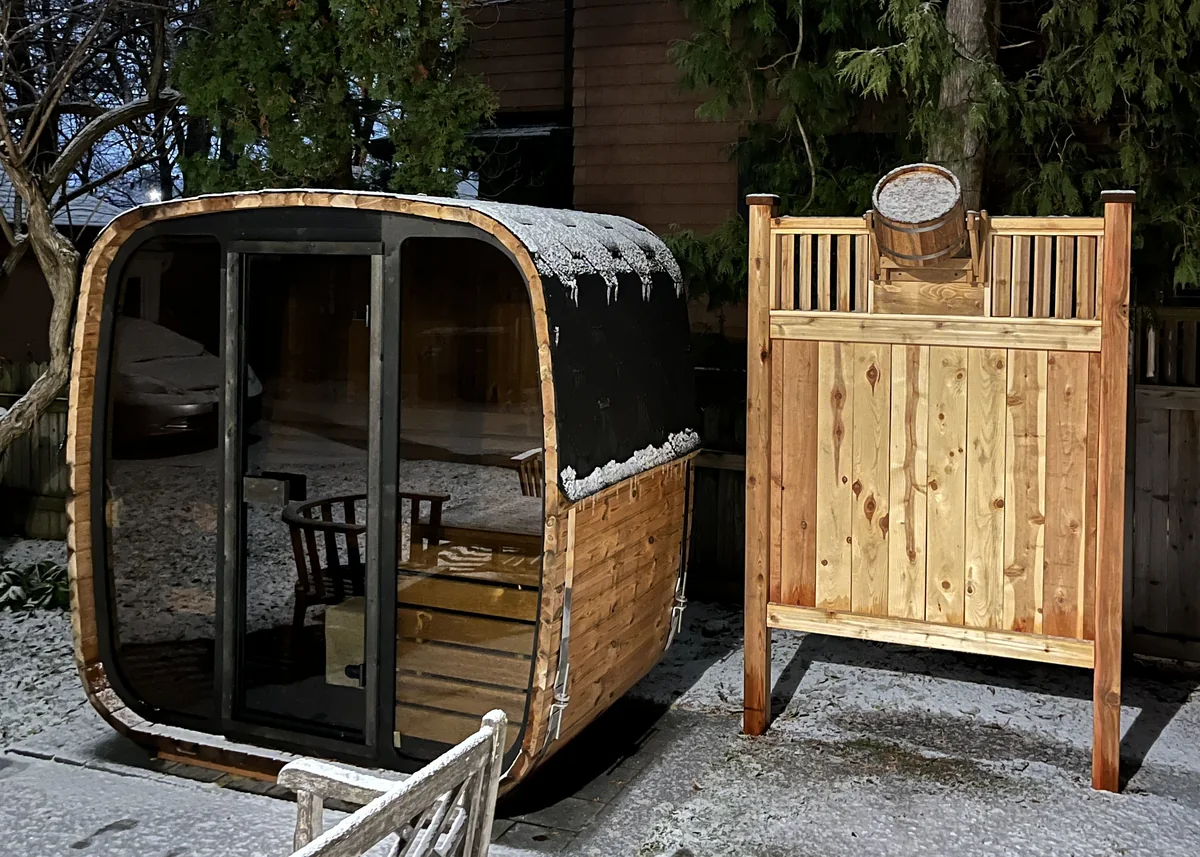


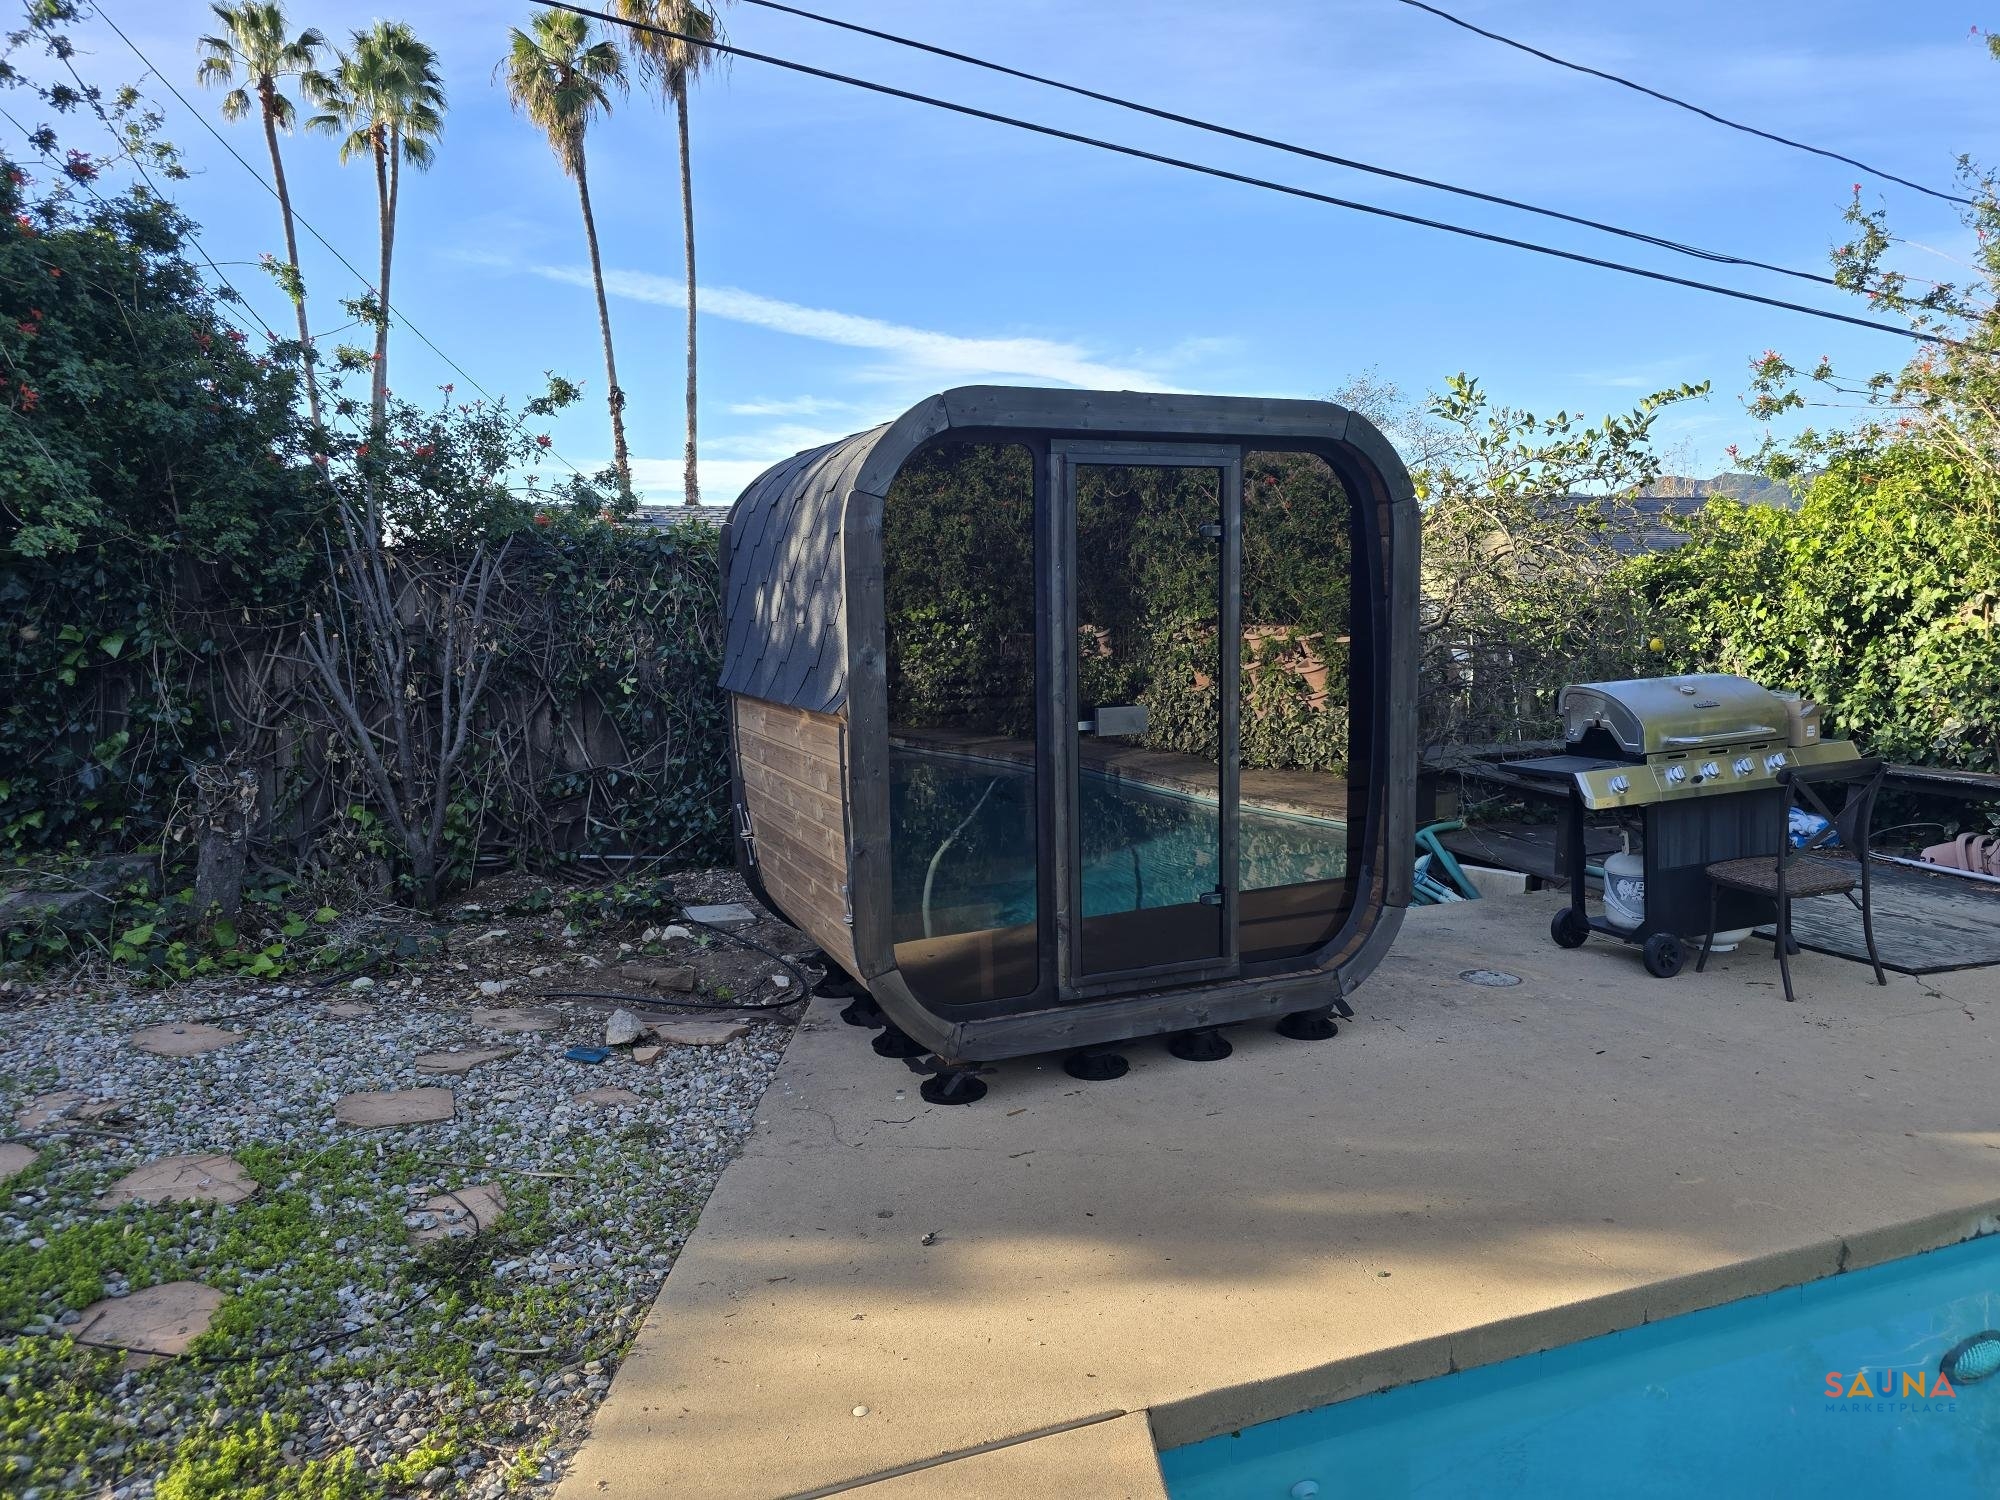


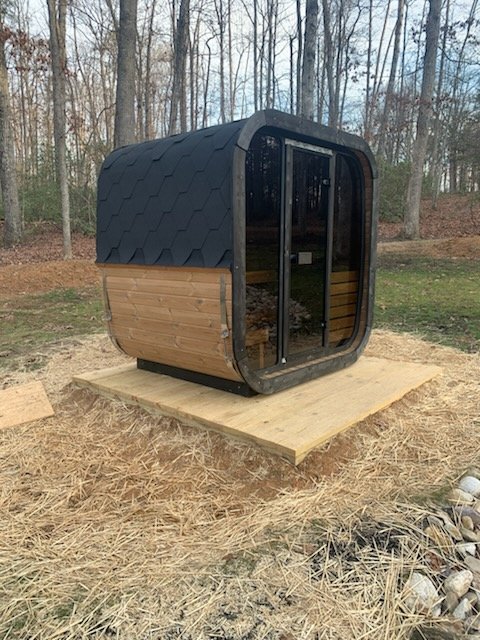


5.0★★★★★
We have been using the sauna every day since it's been installed! It is wonderful and your whole organization is great! We have already recommend you to a couple people who are interested in purchasing a sauna!
Well the Sauna is up and running. We are happy. It heats up quickly and the three person model is comfortable.
It came out great, and works even better :) Loving it so far. couldn't have asked for better service.
We finally have the sauna put together and operational. We just love it.
Quality is nice IMO. The staves are incredible light, surprised me, and once you get the base foundation right it goes up fairly easily. Was surprised to see the two floor drains (nice!). So far, so good, very nice looking unit and very sturdy.
Write a review of the CL4G
Updated door installation
The door arrives as one assembled unit.
Updated CL3G, CL4G, CL5G and CL7G kits include the door with its 2×2 surround already attached. Slide the complete unit into the front opening from behind, working from inside the sauna. Keep the door jamb flush with the outside face of the front wall and the surround tight against the inside face. Check level, plumb and the outward swing before fastening and fitting the exterior trim.
Install the heater before the guard. Leave the heater guard off during sauna assembly. Fit its required guard after installing the heater and checking that heater’s mounting and safety clearances.
Watch Ben Frizzell set the door from inside →
Watch the door-installation video
Frizzell’s video predates the assembled surround. For an updated kit, skip the separate surround assembly at 1:33 and start with setting the door at 2:06. Leave factory-installed connections intact; use the instructions supplied with your door for its remaining fixings.
Installation help
We’ve already thought of everything
We’ve sent the CL4G to dozens of backyards, answered the questions every build raises and built its deeper sibling, the CL5G, ourselves. What we learned is in our 3D build guide, right at the step where each question comes up.
The fit checks builders ask us about
-
 Two drains and a square floor
The CL4G has two drain sets. Seat both, then match the floor diagonals and check level both ways before a wall goes up.
See step 3 →
-
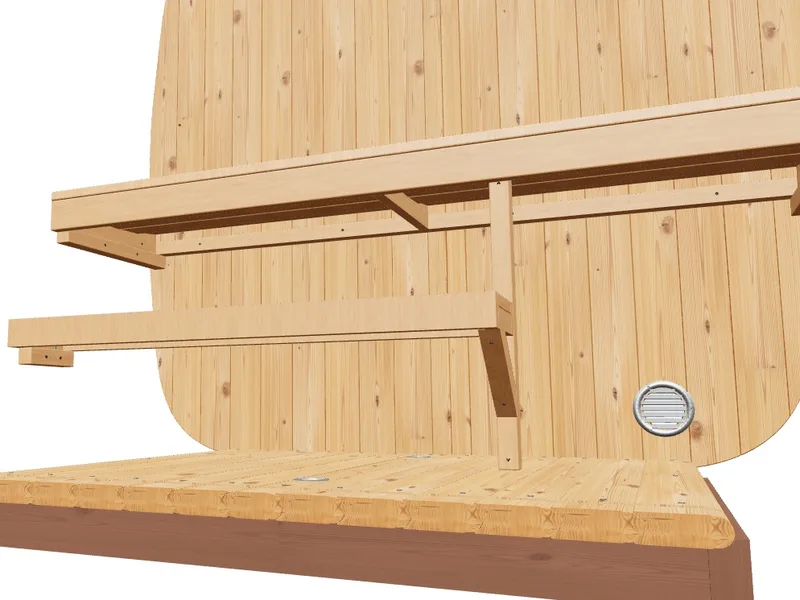 The bench leg and narrow step
The upper bench gets a single leg, then the narrow step and its diagonal brace. The brace bears on solid wood so the step stays firm.
See step 14 →
-
 The door goes in from inside
It arrives assembled with its 2×2 surround. Set it from inside, jamb flush outside and surround tight to the inside wall.
See step 16 →
-
 The roof edge, before the fascia
The underlayment folds over the end edges, and each shingle course covers the fasteners below it.
See step 20 →
All 22 steps are matched to their pages in SaunaLife’s CL4G manual, with the parts and fasteners for each one. When you buy your CL4G from us, we’ll help you and your builder get set up right.
Try the build guide here →Book a Ben for a free 30-minute call →
Questions
Questions we get about the CL4G
Do you offer installation?
We don’t install saunas ourselves, but we have installers and electricians we’ve worked with before, and we can recommend them in most areas. Send us your ZIP code and we’ll check who’s near you. You hire them directly.
If nobody we know is close, a handyman, deck builder or general contractor can assemble the kit, and a licensed electrician wires the heater.
What does the starting price cover?
The sauna kit alone, before the heater package and shipping. Build the package that suits you above: each heater package adds the heater, its controls and its stones. Skip the heater only if you already have one that suits this room.
When do I paint it?
Every Cube ships as natural, unpainted wood. A paint package includes SaunaShield exterior paint, and you or your builder apply it during assembly. Give it at least two coats and let them dry before final assembly, as the painting guide shows. Paint the outside only, and leave the interior, benches and backrests bare. You’ll need your own brushes, and you or your builder do the painting. Read the exterior painting guide.
How does the CL4G arrive?
In one crate, 80 × 44 × 41 in and 1,415 lb, by curbside freight on a truck with a liftgate. Freight is $950 in the continental U.S. Put a phone number on the order that reaches whoever will be home, leave any gate codes, and make room for the truck and the crate. Once it’s unpacked, one or two people can carry each piece to the spot. Keep the parts somewhere dry until you build.
What if something is damaged or missing when it arrives?
Look the crate over with the driver there. Photograph any damage and have it written on the delivery receipt, then sign and keep your copy. Before you build, check every part against the manual’s parts list, including the small hardware boxes, the door packaging and the bench bundles, because SaunaLife’s warranty doesn’t cover shipping damage you could have spotted before installing. If anything is damaged or missing, photograph it and ask us for the part. We’ll take it up with SaunaLife for you.
What should our builder know before starting?
Two people can assemble the CL4G in about two full days. Unpack and check every part against the manual’s parts list, and sort the screw packs, before you start. Fit the end walls with the flat edge at the bottom and the slight peak at the top. If the staves don’t sit snug in the bottom corners, the wall is upside down. When you first tighten the stave screws, leave the 1/4 in gap the manual calls for so the shell can still adjust when the outer bands go on. Send us your builder’s question and we’ll talk them through any step.
What foundation does the CL4G need?
A solid, level base where water never pools. Compacted gravel, pavers or a concrete pad all work. The CL4G sits on two foundation beams joined by cross members, about 55 × 41¼ in. The sauna overhangs the frame by about a foot at each side and about 4 in at the front and back. Support the frame along its full length, then check it with a level and measure both diagonals so it’s square before the floor goes on. The kit ships at 1,415 lb before the heater.
Does it need a cover, and how close can it sit to a fence or house?
It’s built to stand in the open year-round. Its own roof has underlay beneath asphalt shingles, with drip edges to shed water, so it needs no cover. If it goes under a patio roof, install the shingle roof anyway.
With an electric heater, the outside walls don’t get hot, so the sauna can sit close to a fence or house. Keep the outside vents clear, leave room to reach any power box or controller you mount on the back wall, and leave space to work around every side while you build it. Check your local setback rules.
What does my electrician need to know?
Give them the manual for the heater you choose, since it sets the breaker and wire size. The heater is hardwired on a dedicated 240 V circuit, with no plug. At 240 V, a 7.5 kW heater draws about 31 A and an 8 kW heater about 33 A. If your heater has a separate power module or contactor, it mounts outside the hot room, usually in a ventilated weatherproof box on the back wall on the heater side or on a nearby post. An outdoor controller needs a weatherproof box too. Those boxes aren’t part of the sauna kit; your electrician supplies them. Some heater manuals want the power unit or control panel indoors or under cover, so check yours first.
Plan where the cable enters the sauna before the floor goes in. The LED lights run on 120 V, and their driver goes in a weatherproof enclosure.
Where does the temperature sensor go?
Where your heater’s manual puts it, since the heater sets the spot, not the sauna. For example, Saunum’s AIR sensor goes 2 in below the ceiling, never above the heater and at least 20 in from vents, windows and the door. Harvia’s Virta sensor goes on the wall above the heater, 4 in below the ceiling. HUUM’s UKU kits differ by generation, so follow the manual in your box. Run the sensor cable before the benches and trim close off the wall. If your layout won’t allow the manual’s spot, photograph it and ask us.
Where does the light remote go, and how do I pair it?
The remote needs no battery. Mount it inside near the door or on the wall opposite the heater, no higher than 30 in above the floor and at least 36 in from the heater, or keep it handheld. The light driver plugs into a 120 V outlet in a dry spot at least 3 ft from the heater, in a weatherproof box if it’s outside. Keep the light strips at least 20 in from the sides of the heater and never above it.
The remote comes paired. To pair it again, hold the button on the driver for 3 seconds until its light flashes slowly, then press the remote. The driver’s light goes off when they’re paired. If the lights stay dark, check the polarity of the wires into the driver before anything else, then ask us.
Where are the shingle instructions?
With the shingles. The manual points to them, and they’re usually printed on the shingle packaging, so keep the wrappers until the roof is finished. Lay out a row or two before you nail, and check that each course covers the nails of the one below.
What if I run short of trim screws?
The black J and H screws hold the door and exterior trim. Count them before you start the trim, and pre-drill near the narrow trim edges so the boards don’t split. If you’re short, photograph what you have and ask us.
Does it work in winter, and how long does it take to heat up?
Yes. We count the glass when we size the heater for this room, so it heats up on cold days too. Plan on about 45 minutes to an hour to preheat, and longer on very cold days. A full preheat warms the benches and walls as well as the air, which helps keep your feet warm.
Can I start it from my phone?
Yes. Choose a Wi-Fi control package above to start and adjust the sauna from the app, with the wall controller still on site. A heater with built-in controls has no Wi-Fi and can’t add it later, so choose Wi-Fi now if you want it. Before you build, check that your Wi-Fi reaches the spot where the sauna will stand. HUUM’s UKU Wi-Fi joins 2.4 GHz networks only.
Can people see in through the glass front?
The front is tempered bronze glass. It’s darker than clear glass, but it isn’t privacy glass. In daylight, the tint and reflections make it hard to see in. After dark with the lights on, people outside can see in, so face the glass toward your yard or view rather than a neighbor’s window.
Does the kit’s heater guard fit every heater?
The wooden guard that comes with the kit fits the Harvia KIP. The HUUM DROP doesn’t fit inside it, so leave it out with the DROP or build one that meets the heater manual’s clearances. The Spirit package comes with Harvia’s HSP3M safety rail and the extra heater board it mounts on.
What does the warranty cover?
SaunaLife covers the sauna kit for five years from delivery, for the original buyer’s home use. The warranty doesn’t cover normal wear, natural weathering of the wood, installation or labor. Heaters and other components carry their own warranties. Read the SaunaLife warranty.
For your builder
Manuals and documents
CL4G installation manual Dimensions, parts and assembly → SaunaLife LED lighting manual Lights, remote and wiring → Cube series best practices Planning and setup → SaunaLife care guide Wood care and ongoing maintenance → SaunaLife limited warranty Coverage and exclusions →Find the right fit
Answer three things and the right size lights up. Every Cube below is drawn to the same scale, with 3D Studio one tap away.
-
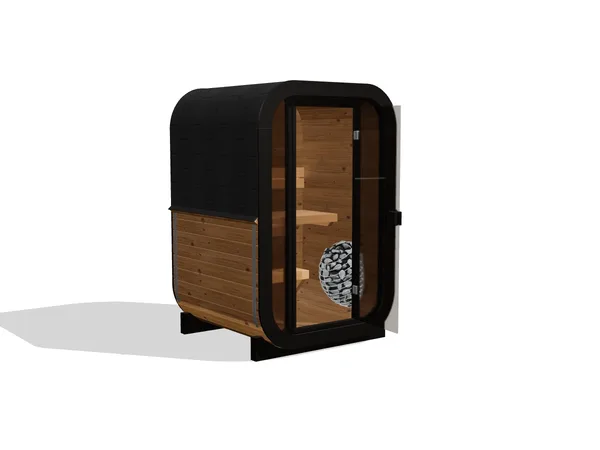
CL3G One person, or a snug two
Sauna from $3,990
Longest bench 4 ft 1 in
- Outside, W × D × H
- 4 ft 5¼ in × 4 ft 3¼ in × 6 ft 10 in
- Inside, W × D × H
- 4 ft 1½ in × 3 ft 7 in × 6 ft 3¼ in
- Benches
- Back bench, side seat and a step
- Heater
- 6 kW electric
- Door
- 23¼ × 66½ in
-
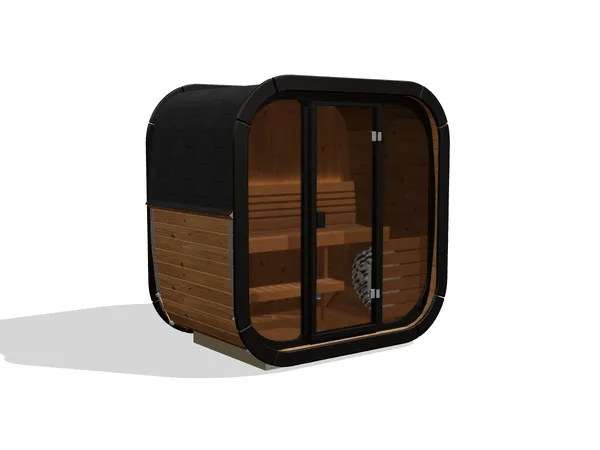
CL4G Up to 3
Sauna from $4,990
Longest bench 6 ft 4 in
- Outside, W × D × H
- 6 ft 8¾ in × 4 ft 1¼ in × 6 ft 10¾ in
- Inside, W × D × H
- 6 ft 5 in × 3 ft 5¼ in × 6 ft 2¾ in
- Benches
- Upper bench with a shorter lower bench; no foot support directly in front of the heater
- Heater
- 7.5 to 8 kW electric
- Door
- 23¼ × 66½ in
-
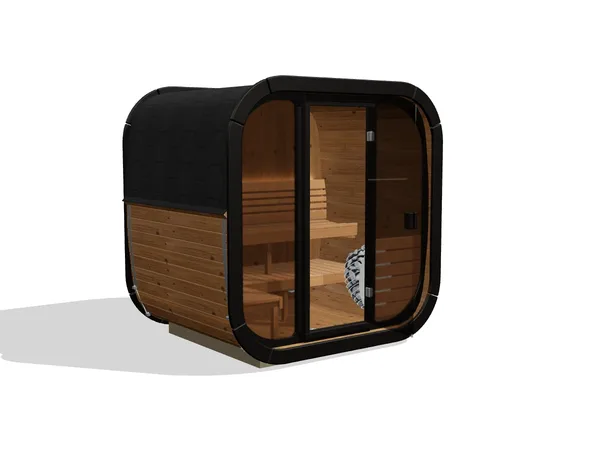
CL5G Up to 4
Sauna from $5,990
Longest bench 6 ft 4 in
- Outside, W × D × H
- 6 ft 8¾ in × 5 ft 3 in × 6 ft 10¾ in
- Inside, W × D × H
- 6 ft 5 in × 4 ft 7 in × 6 ft 2¾ in
- Benches
- Upper bench, 6 ft 1 in lower bench and an L step
- Heater
- 8 to 9 kW electric
- Door
- 23¼ × 66½ in
-
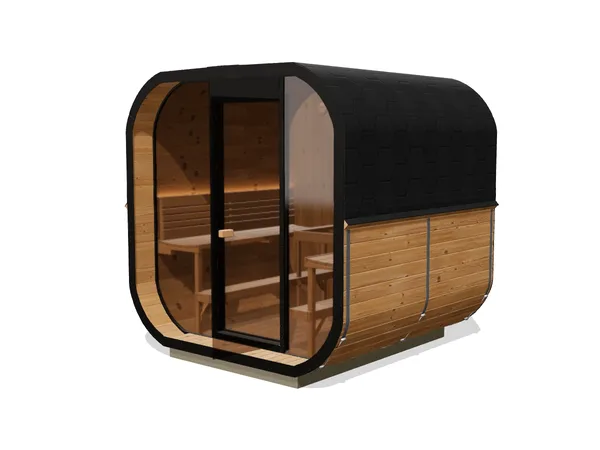
CL7G Up to 6
Sauna from $7,990
Longest bench 5 ft 10½ in × 2
- Outside, W × D × H
- 7 ft 7 in × 7 ft 2¾ in × 7 ft 9 in
- Inside, W × D × H
- 7 ft 3½ in × 5 ft 10½ in × 7 ft 1½ in
- Benches
- Two facing side benches with steps
- Heater
- 10.5 to 15 kW electric, or wood-fired
- Door
- 27¼ × 74½ in
-

CL12GCP Up to 8 + changing room
Sauna from $10,990
Longest bench 6 ft 6 in × 2
- Outside, W × D × H
- 7 ft 7 in × 12 ft 7¾ in × 7 ft 9 in
- Inside, W × D × H
- 7 ft 3½ in × 6 ft 6½ in × 7 ft 1½ in
- Benches
- Two facing hot-room benches with steps, plus changing-room and porch seats
- Heater
- 10.6 kW electric, or wood-fired
- Door
- 27¼ × 75½ in
Prices are for the sauna kit; each Cube’s page has its heater packages. Not sure? Book a Ben and bring a photo of the spot.
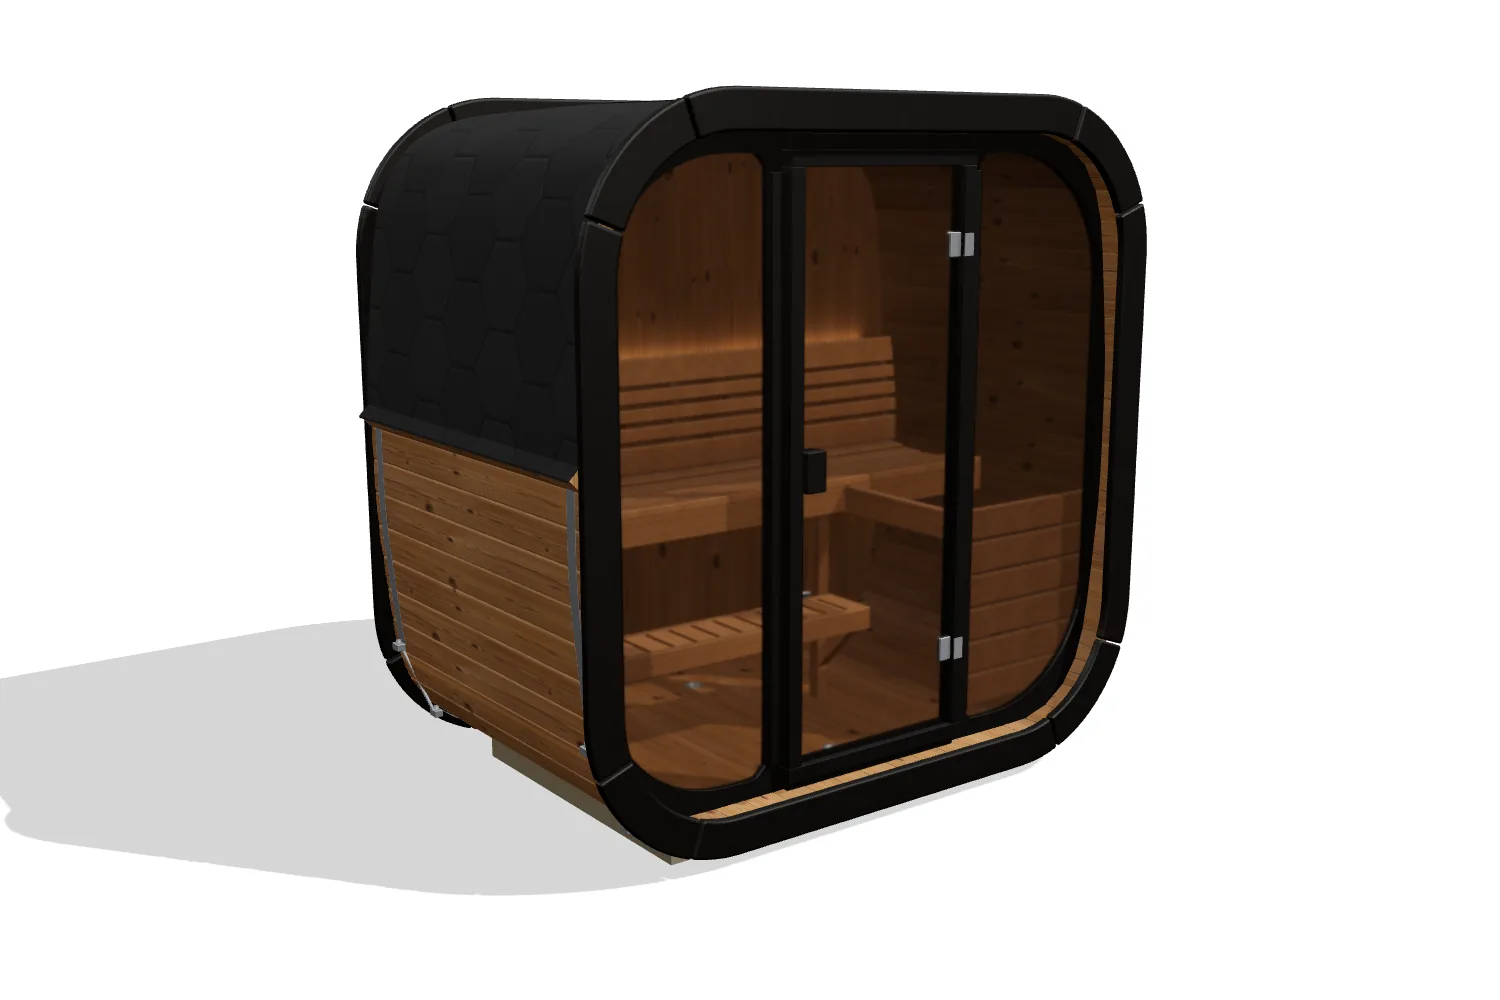
 Prebuilt
 Brushes, Whisks and Body Care
 Vents