
")


| Made in | Across the Gulf of Finland, Estonia has a vibrant and growing sauna industry. They're known for innovative design, modern manufacturing, and premium sauna products at an affordable price. |
|---|---|
| Size |
7.8 Linear Feet – Bundle of 10 ,Price Per Linear Foot – Free Samples Available |
| Model |
1×1 SHP Trim |
We'd love the opportunity to answer your questions, learn about your sauna preferences, and make sure everything is considered for a flawless delivery. Book a planning session now.
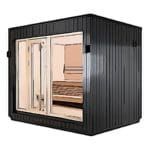
Thermory Thermo-Aspen 1×1 SHP is a versatile sauna material meant for trim, benches, internal corner moulding, and sauna floors. Aspen is a smooth, cool timber to feel against bare skin. Because it doesn’t secrete resin, splinter or overheat, aspen makes for an ideal sauna material. The color of thermally modified aspen is an attractive golden brown. Thermally modified wood resists rotting, expansion, contraction, warping, and cupping.
These 0.83″ thick boards are ideal for creative projects and making your sauna design truly unique.
Note: These can only be purchased in bundles of 10 in 7′ and 8′ lengths.
$2.00 – $200.00
We partner with distributors and manufacturers who guarantee the lowest prices, fastest delivery, and additional 'whatever-it-takes' support.
Buy Now, Pay Later with premium financing packages only available on Sauna Marketplace.

We teamed up with FLEX to make HSA/FSA payments easier than ever.

| Material main: | Thermally Modified Wood |
|---|---|
| Material secondary: | Wood |
| Designed in: | United States |
| Manufactured in: | Estonia |
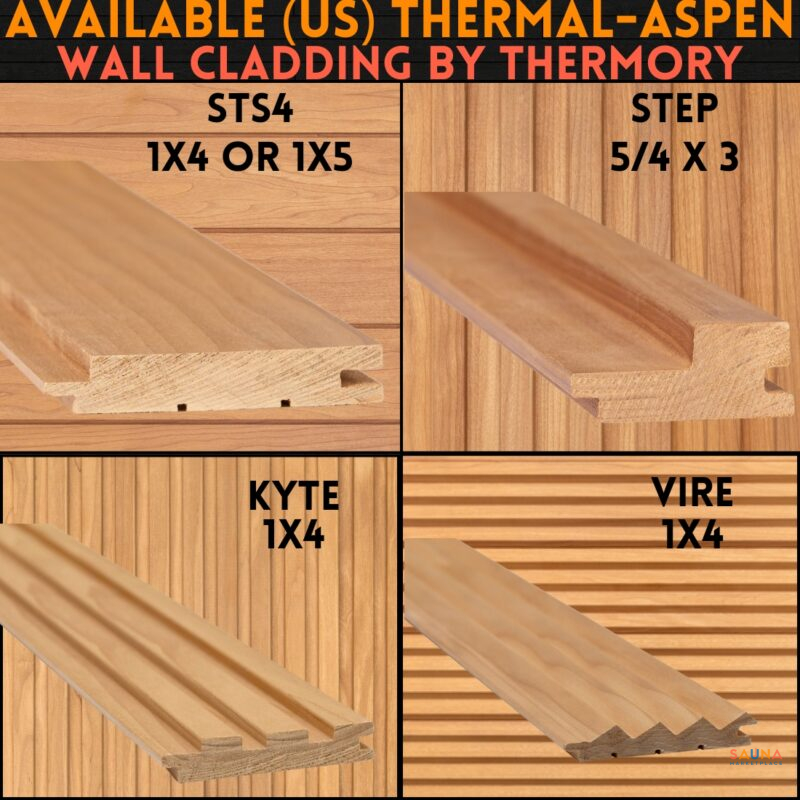
Thermory’s selection of sauna mouldings serves a variety of purposes, from covering gaps and filling in corners to rounding off the visual theme of the sauna. Whether you’re after a traditionally decorative style or a simpler look, we have you covered.
One use of these 1x1 mouldings is to use on corners before installing horizontal wall cladding.
It can also be used to cover the gap after the wall cladding is installed:
Note: When installing mouldings on the ceiling, leave a 1/8" gap between the mouldings and the wall to enable air movement.
| Made in | Across the Gulf of Finland, Estonia has a vibrant and growing sauna industry. They're known for innovative design, modern manufacturing, and premium sauna products at an affordable price. |
|---|---|
| Size |
7.8 Linear Feet – Bundle of 10 ,Price Per Linear Foot – Free Samples Available |
| Model |
1×1 SHP Trim |
We'd love the opportunity to answer your questions, learn about your sauna preferences, and make sure everything is considered for a flawless delivery. Book a planning session now.
There are no reviews yet
Local Bench Time and Sales
 Prebuilt
 Sauna Brushes
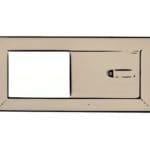 Vents
Vents
Reviews
There are no reviews yet