


| Made in | Across the Gulf of Finland, Estonia has a vibrant and growing sauna industry. They're known for innovative design, modern manufacturing, and premium sauna products at an affordable price. |
|---|---|
| Size |
4.9 Linear Feet – Bundle of 6 ,5.9 Linear Feet – Bundle of 6 ,6.8 Linear Feet – Bundle of 6 ,7.8 Linear Feet – Bundle of 6 ,8.8 Linear Feet – Bundle of 6 ,9.8 Linear Feet – Bundle of 6 ,Price Per Linear Foot – Free Samples Available |
| Model |
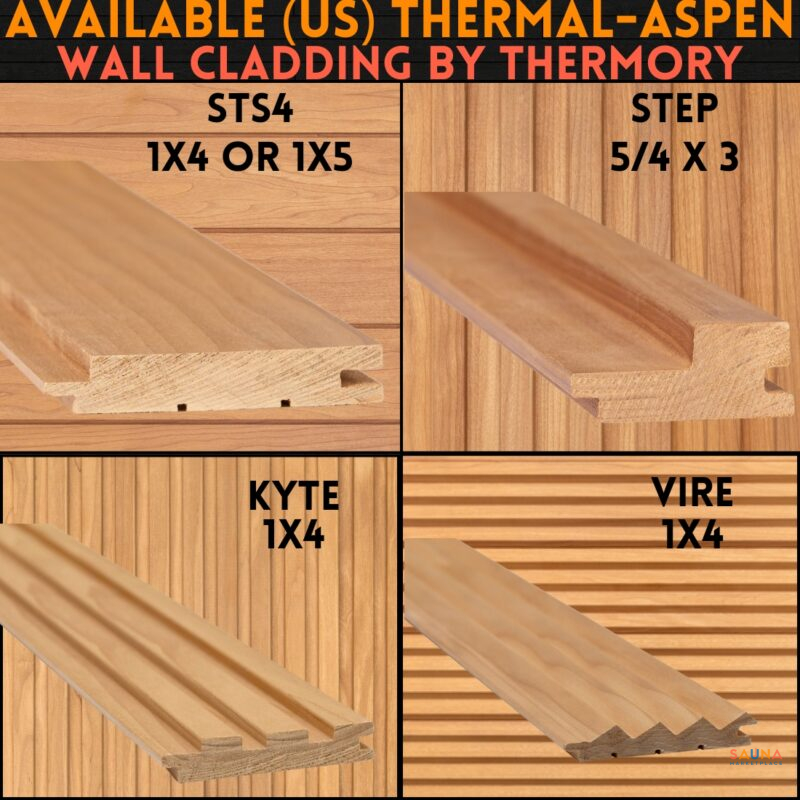
5/4×3 STEP Cladding |
We'd love the opportunity to answer your questions, learn about your sauna preferences, and make sure everything is considered for a flawless delivery. Book a planning session now.
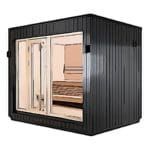
Step up your game and build the sauna of your dreams with STEP Cladding by Thermory. The broad, square grooves create a striking shadow effect adding depth and intrigue to any space. It’s our go-to for vertical wall cladding in any high-end sauna build.
Thermo-Aspen is an elegant wall and ceiling cladding for saunas that has been meticulously processed using only heat and steam by Thermory, the global leader in Thermal Modification. The result is a darkened, smooth wood that won’t shrink, warp, cup, or rot when properly installed. Choose this profile for a classic sauna look that’s more refined than typical North American saunas.
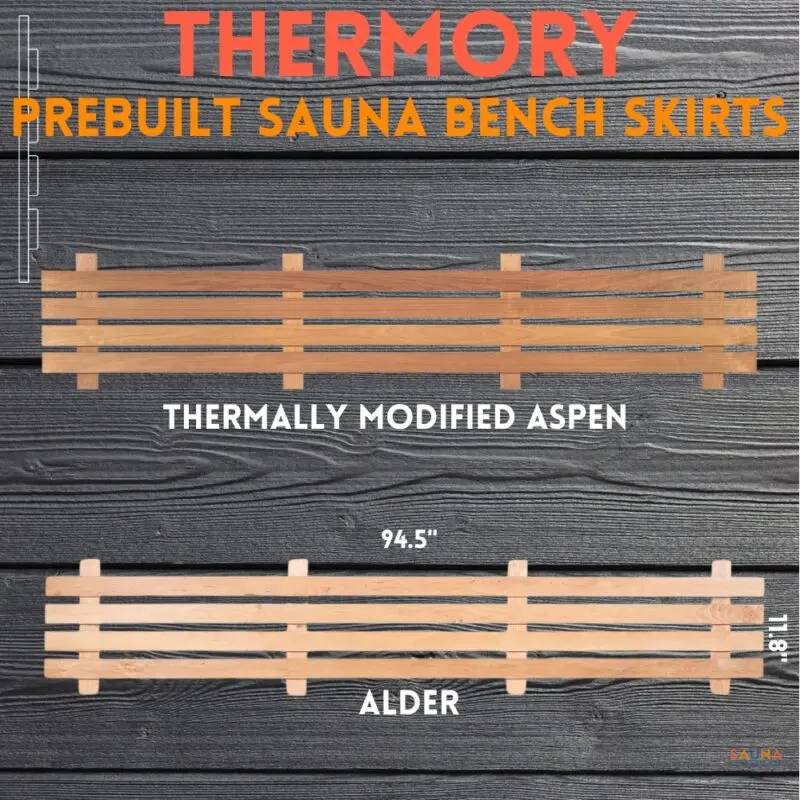
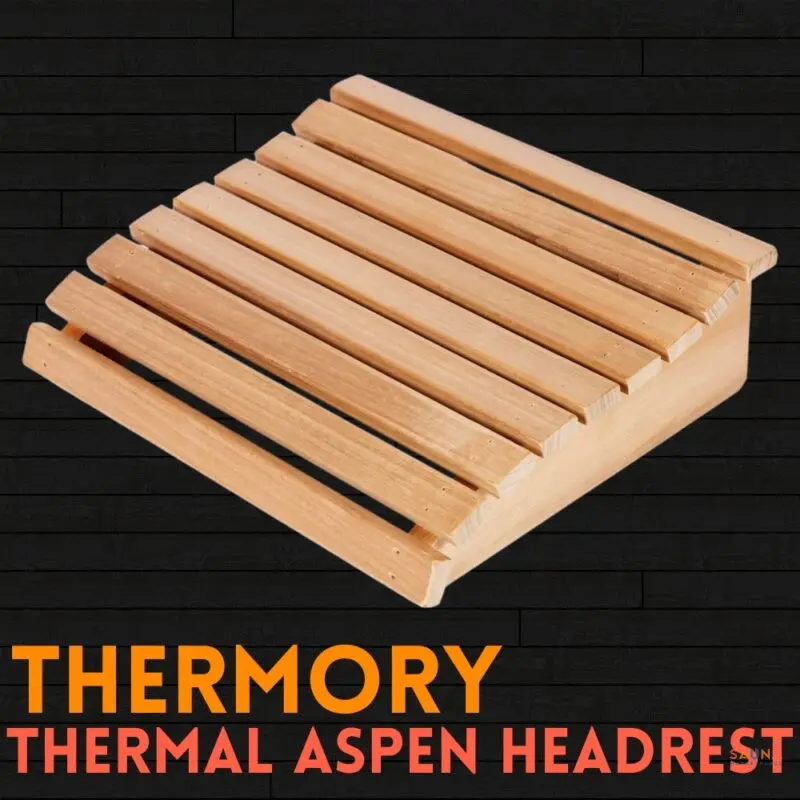
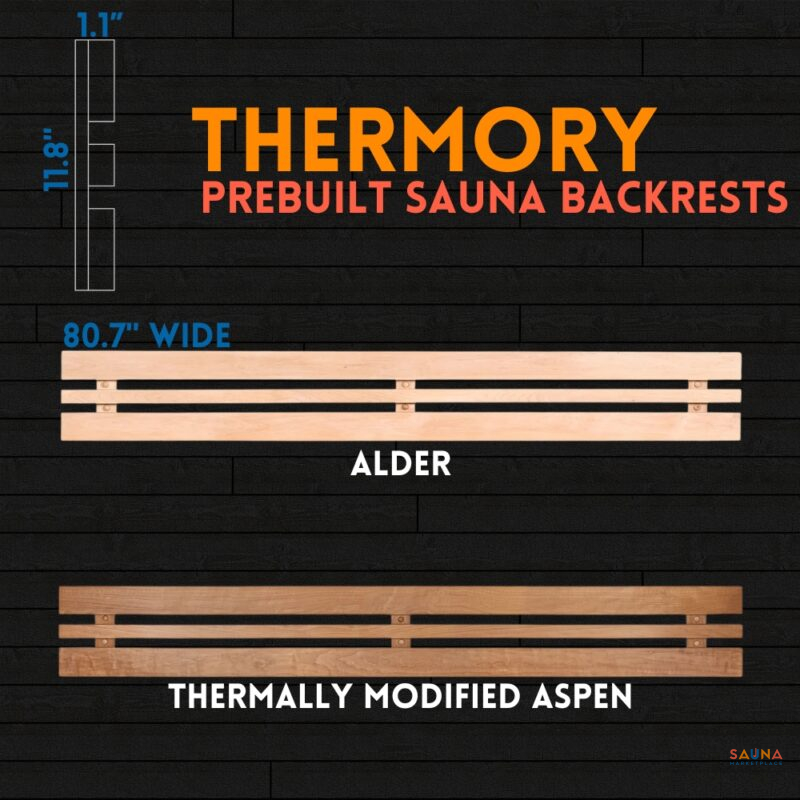
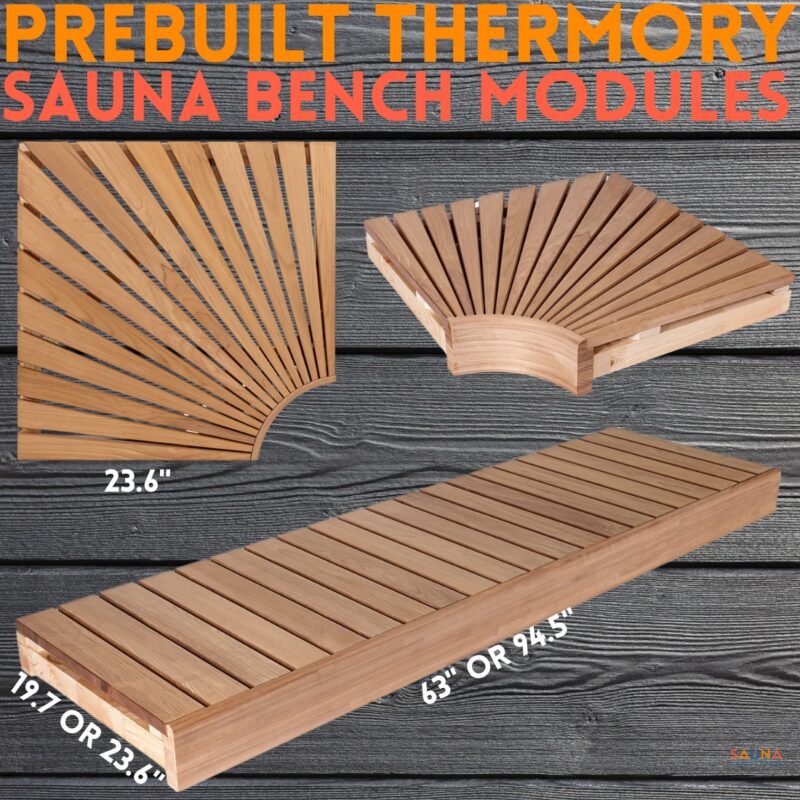
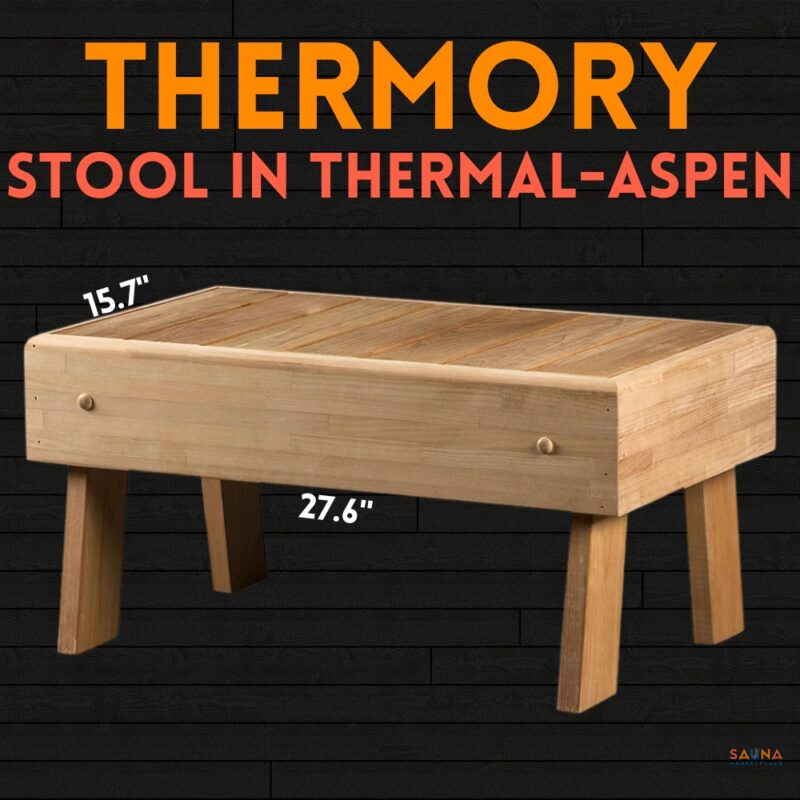
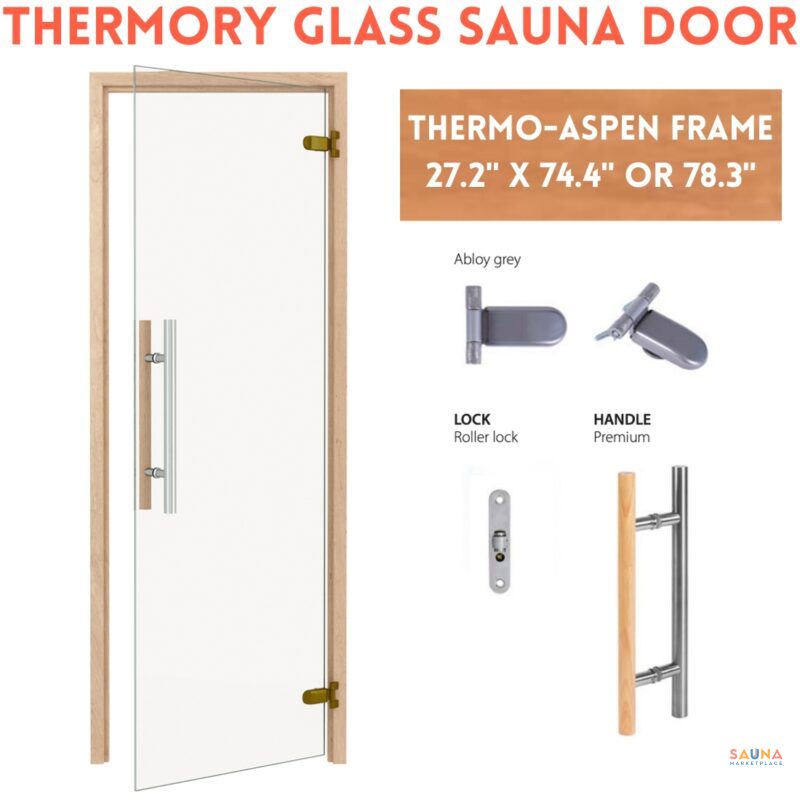
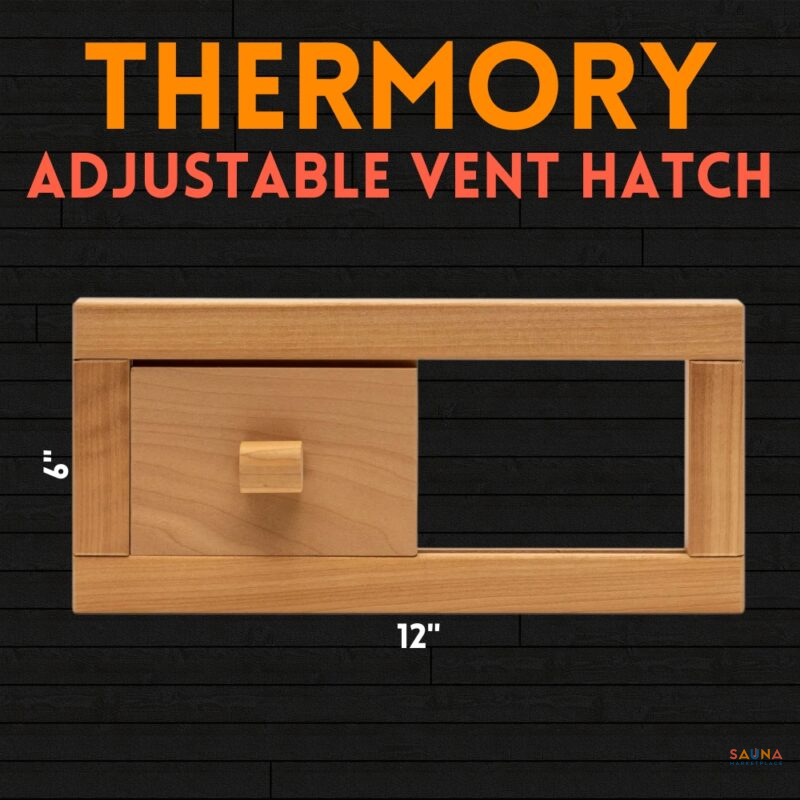
At Sauna Marketplace, we make it easy with matching benches, backrests, bench skirts, vent hatches, floor grids, and more.
Actual wall coverage is 2.2″ which completes the step.
$3.72 – $223.97
We partner with distributors and manufacturers who guarantee the lowest prices, fastest delivery, and additional 'whatever-it-takes' support.
Buy Now, Pay Later with premium financing packages only available on Sauna Marketplace.

We teamed up with FLEX to make HSA/FSA payments easier than ever.

When building a sauna, make sure the installation work is performed with quality and precision to make the wood last longer. Wood as a natural material requires regular maintenance to preserve its properties.
Always check the wall panels immediately on receipt to identify any transport damage. Never install a defective product. When installed, the product is deemed to be of acceptable quality.
Best practice is to store your wall paneling in the same room where they will be installed for a few weeks before installation to allow the wood to acclimatize to the temperature and humidity conditions in the room.
Store the wall paneling on a flat surface, openly stacked and above the floor surface, for example on joists. Make sure that joists would be at least 11.8 inches to avoid bending. This will enable air movement between the panels.
Wall paneling must be stored at the same temperature at which they are going to be installed. The ideal storage temperature is 59–72 °F.
If there is a radiant heater or other heat source in the room used for storing the wall paneling, make sure the humidity level does not get too high and the temperature does not exceed 77 °F.
Wall paneling must be stored in unopened packages. Remove the heat-shrinking film immediately before installation.
Sauna wall paneling are installed as part of living area finishing works. When planning the order of construction work, keep in mind the wall paneling does not tolerate changes in humidity during construction.
Make sure sufficient ventilation is provided in the sauna room.
Make sure you have enough material, as there may be slight differences in shade between production batches.
The approximate material loss varies between 5-10% depending on the length for wall paneling.
Any wet operations must be performed before installing the wall paneling. Performing wet operations after the wall paneling have been installed will cause the paneling to absorb moisture and swell.
Open several packages so you can better match your wall paneling.
Thermory and Sauna Marketplace recommend using a staple gun and stainless steel clips for installing the wall paneling.
First install the underlay battens to afix the wall paneling to. The battens must be at least 0.79” thick and 1.8” wide. If the wall paneling is going to be placed horizontally, install the battens vertically. Vertical wall paneling, however, requires horizontal battens. The battens must ensure air movement behind the wall paneling across the entire extent of the paneling.
Make sure the battens are straight and level before installing the wall paneling. The recommended batten spacing is 15.7”. The batten spacing must not exceed 23.6”.
When installing wall paneling horizontally on adjacent walls of a room, start installing the paneling row by row on all walls at once, circling the room one row at a time. This way you can align the ends of the paneling with precision in the corners.
When installed horizontally, the paneling must be installed from top to bottom.
Fix with staples from the groove side for both vertical and horizontal installations. Position the panels with the tongue side up and groove side down for horizontal installation.
When installing the wall paneling vertically, leave a gap of at least 0.4” between the adjacent corner or board for the first and last panels. Cover the gap with a corner moulding later.
Check the installation precision of the paneling with a level or measuring tool after every three rows.
Fix the wall paneling to the battens with staples, we recommend the use of a staple gun. Finishing nails are not suitable for fixing the paneling.
Set the staple penetration depth so the clips will not protrude out of the paneling surface and penetrate too deep and damage the wood surface. Make sure the wall paneling with hidden fixings are installed down to the bottom.
Check with a level that the first row of the paneling is installed straight, as installation imprecision will increase for the following rows. Check the installation precision with a level at least after every three rows.
If you also want to install the paneling boards on the ceiling, start with the ceiling and cover the walls after that. Installation is similar to installing the horizontal wall paneling. Leave a sufficient airing gap between the first row of paneling and the adjacent wall and between the last row of paneling and the wall.
Make sure the paneling is installed straight. Perform control measurements from time to time with a direction rope or laser.
Make sure to add support for sauna benches behind the panelling. The weight of the benches must not be carried out by the paneling.
Make sure to fasten the paneling with the proper tools for this particular purpose.
To prolong the life of your sauna, we recommend treating all wooden surfaces with a breathable wood protector. The protector will protect against dirt, moisture, facilitate cleaning, and enliven the wood surface.
Wipe the wooden parts clean of dust, clean them with a sauna detergent, or other detergent suitable for wooden surfaces, and allow to dry. For finishing, the surface must be clean and dry.
Treat the walls and floor grid of your sauna with sauna wax or another suitable coating.
Be sure before finishing, that the paint is suitable for sauna conditions. All finishing has to be done according to paint manufacturer’s instructions!
Thermory’s range of sauna products includes a number of wood products having undergone medium and intensive thermal modification. These products require special care in order to preserve the characteristic properties of thermowood.
Handle packages and products with care during installation. Do not scratch the wooden surface or drag boards on top of each other. Thermowood has a characteristic scent that will weaken over time but never completely disappear.
The scent will disperse faster when letting the sauna heat for a long time and air it at the same time. You can reduce the characteristic scent of thermowood by treating the wood with a suitable wood wax or maintenance product.
Avoid washing untreated thermowood with water as it will strengthen the scent. Any complaints about the quality or scent of the wood must be submitted before sawing, installing, or treating the wood.
| Made in | Across the Gulf of Finland, Estonia has a vibrant and growing sauna industry. They're known for innovative design, modern manufacturing, and premium sauna products at an affordable price. |
|---|---|
| Size |
4.9 Linear Feet – Bundle of 6 ,5.9 Linear Feet – Bundle of 6 ,6.8 Linear Feet – Bundle of 6 ,7.8 Linear Feet – Bundle of 6 ,8.8 Linear Feet – Bundle of 6 ,9.8 Linear Feet – Bundle of 6 ,Price Per Linear Foot – Free Samples Available |
| Model |
5/4×3 STEP Cladding |
We'd love the opportunity to answer your questions, learn about your sauna preferences, and make sure everything is considered for a flawless delivery. Book a planning session now.
There are no reviews yet
 Prebuilt
 Sauna Brushes
 Vents
Vents
Reviews
There are no reviews yet