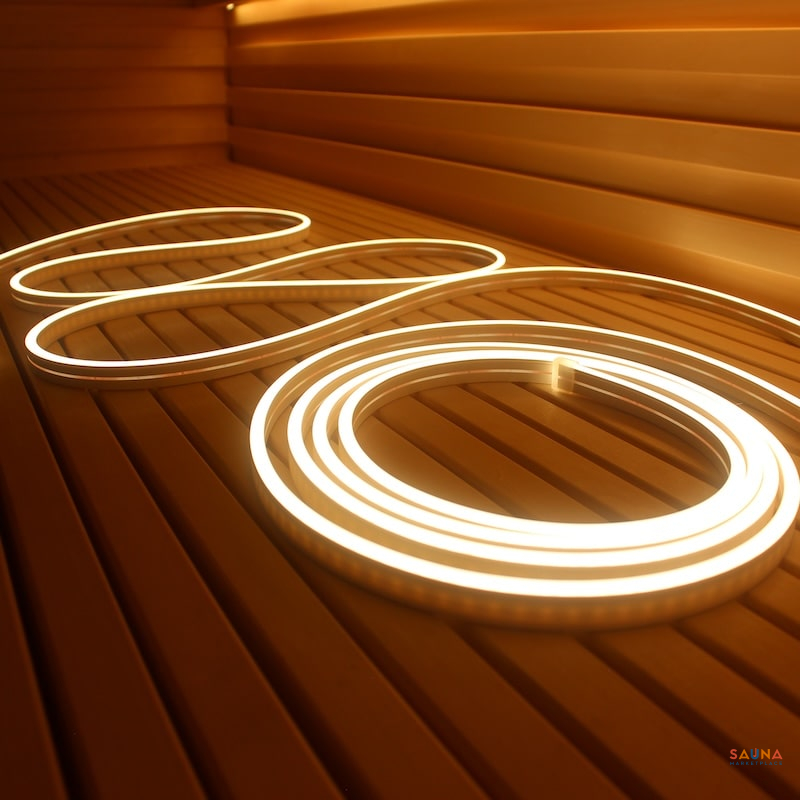
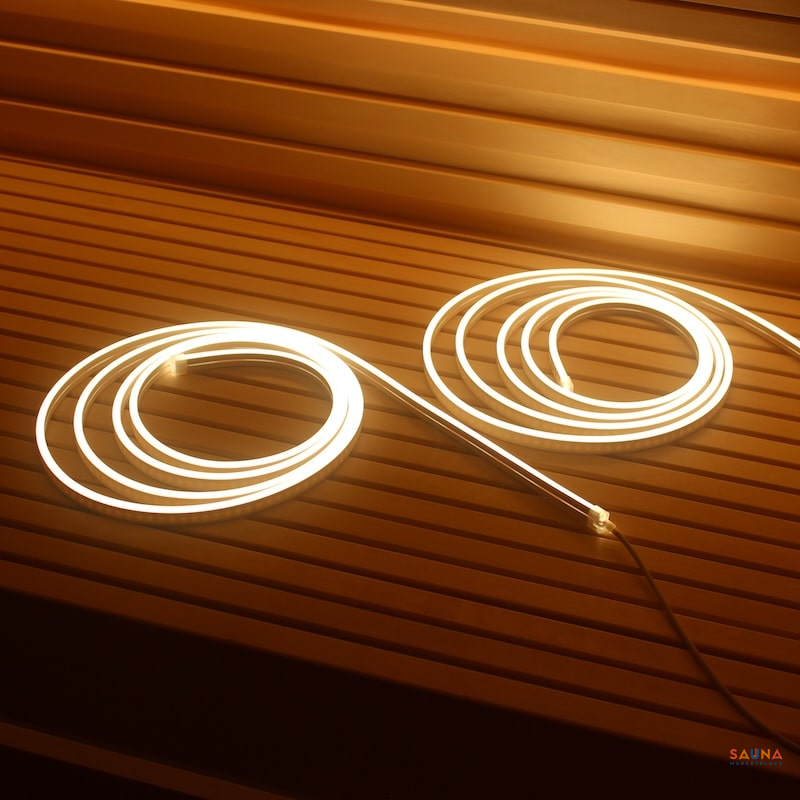
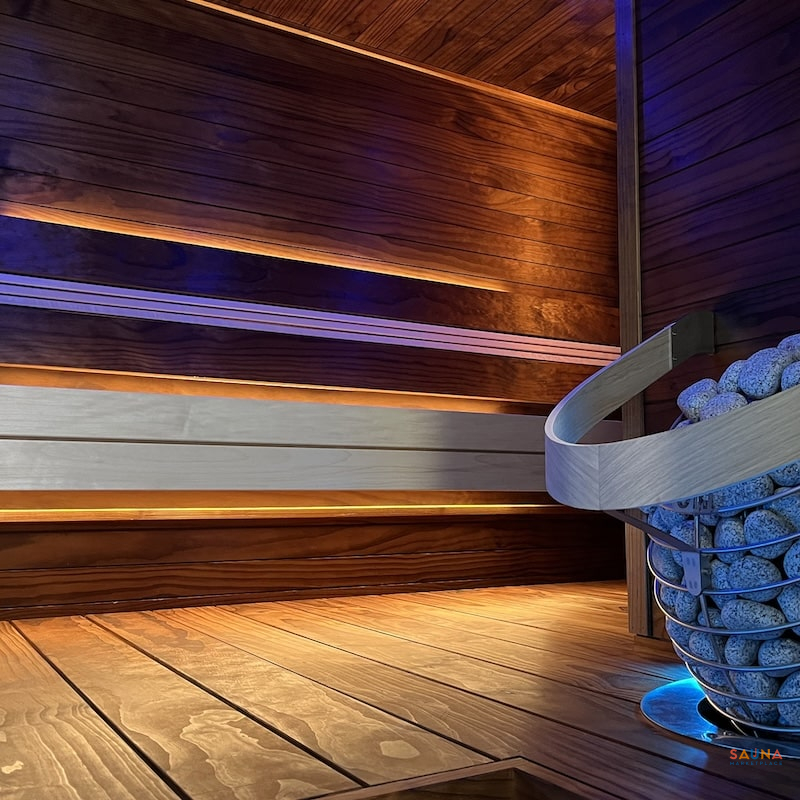
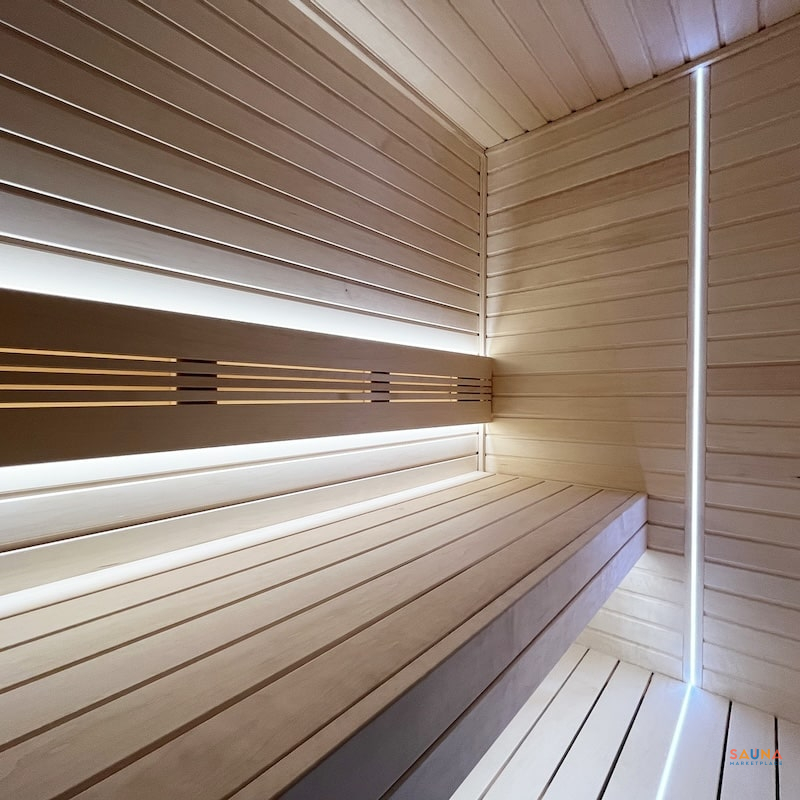
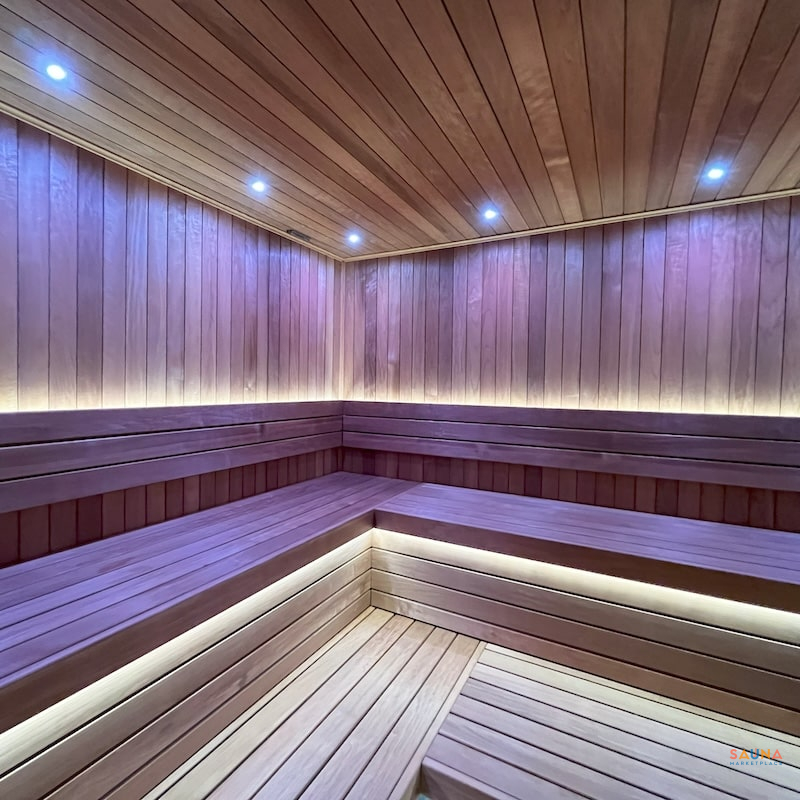
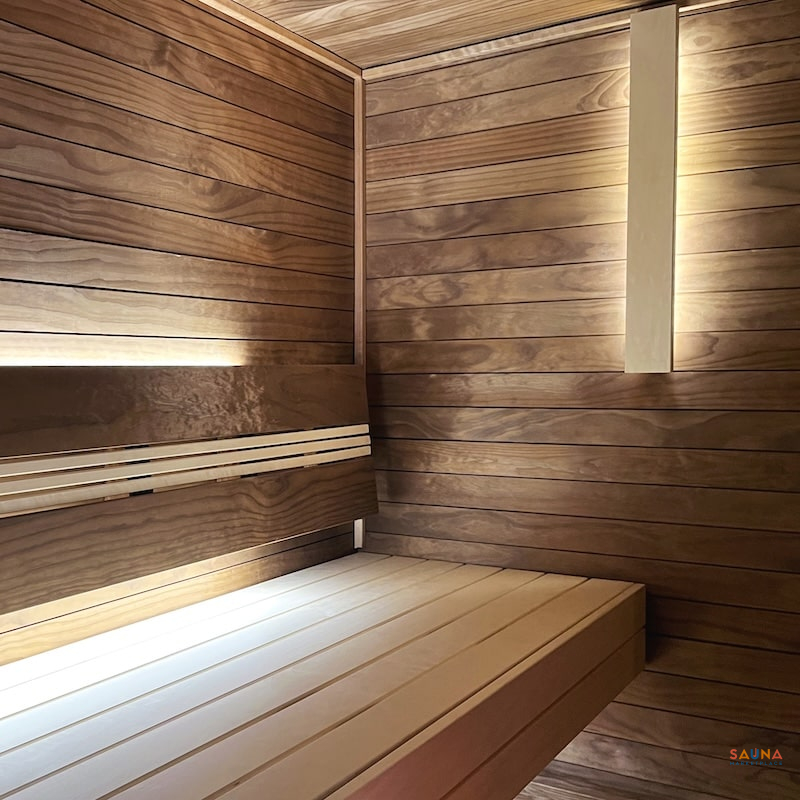
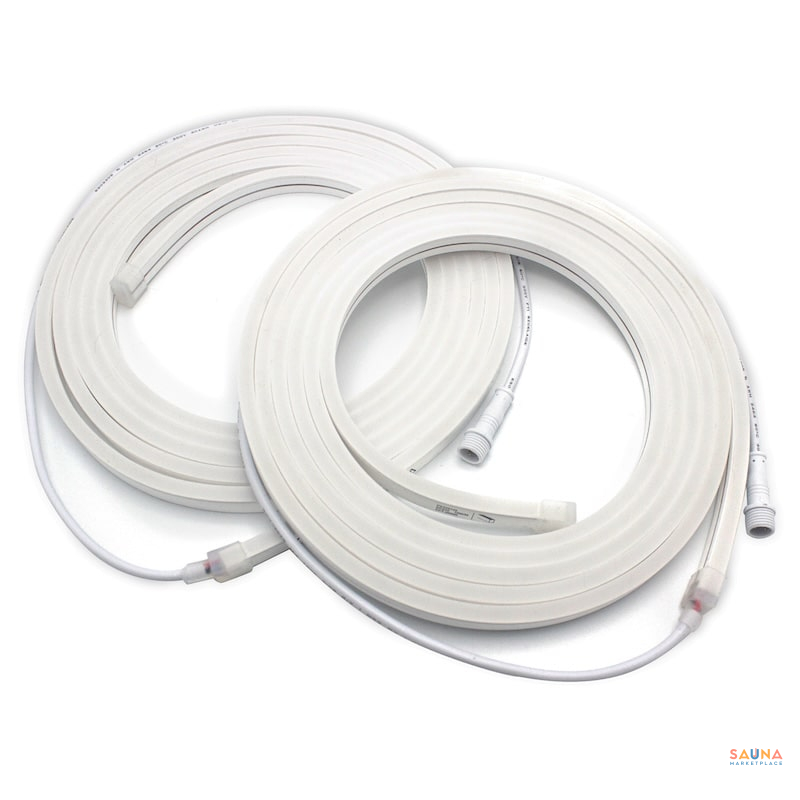
Engineered to withstand the extreme high heat of your sauna, this pair of flexible 10-foot LED light strips illuminate the beauty of your sauna and are incredibly versatile. Create elegant “dotless” indirect LED lighting behind backrests, under benches, or create custom perimeter lighting. Warmly light the interior of your sauna and showcase the natural beauty of the wood while elevating your sauna experience. These universal lights are compatible with all leading sauna heater controls and standard outlets for convenient operation. This quality light carries an IP rating of 67, indicating that it is water resistent and protected from dust.
Engineered to withstand the extreme high heat of your sauna, this pair of flexible 10-foot or single 16′ LED light strip illuminate the beauty of your sauna and are incredibly versatile. Create elegant “dotless” indirect LED lighting behind backrests, under benches, or create custom perimeter lighting. Warmly light the interior of your sauna and showcase the natural beauty of the wood while elevating your sauna experience. These universal lights are compatible with all leading sauna heater controls and standard outlets for convenient operation. This quality light carries an IP rating of 67, indicating that it is water resistant and protected from dust.
Features:
Warm White 3500K
Dotless
Flexible Placement
Behind Backrests, Under Benches
Cuttable Every 1.9”
99 Lumens Per Foot
Low voltage LED Lights
Can be controlled through HUUM, Harvia, and Saunum light switch on control
Waterproof IP67 rated
One Strip


Two Strips


How To Install Sauna LED Light Strips
STEP 1. Identify LED Install Location
Identify location where LED light will be installed. Common installation spots are
- Backrest shining up or down
- Under bench
- Sauna Floor
- Exterior of Sauna
- Behind a DIY "Sconce" made of leftover sauna wood
- Recessed in vertical wall

STEP 2. LED Mounting Clips
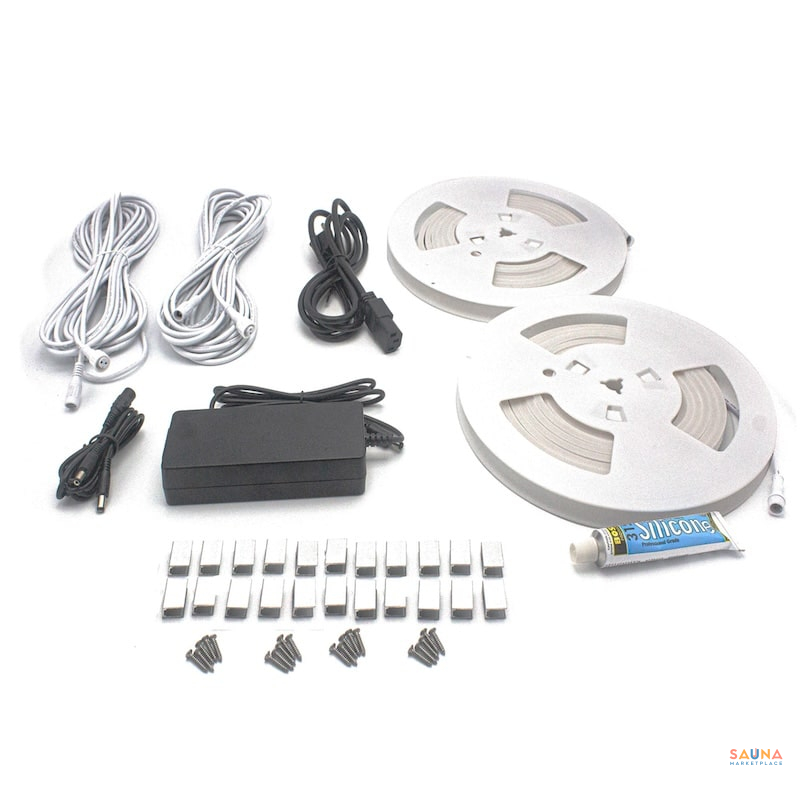
- Grab Mounting Clips and screws. Clips are provided with 1 screw each.
- If using your own screw you will need a minimum size #4 x 5/8” screw to mount clips.
- It is recommended that clips be mounted every 8”to 12” to support LED light.
- Take LED and gently press light into each clip.
- Follow connection diagram on page 4 for LED wire connections.
Note: Images below show examples of clip installation. To remove LED from clip gently pull up on LED at each clip to release, avoid bending LED as this will damage the light.


STEP 3. Power Supply Connection
Determine how power supply will be powered, this can be from a standard 120VAC receptacle or wired into your Sauna equipment power module, see images below for wiring.
Important
Images below are shown as a reference. It is important to verify heater manufacturers installation steps for connecting lighting.




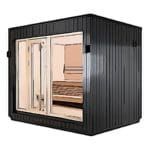 Prebuilt
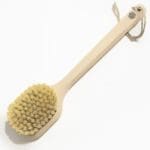 Sauna Brushes
 Vents
Vents
Verified owner Nathan L. (verified owner) –